How to make a Spiral Bead Hanger
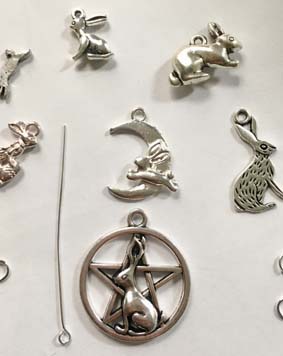
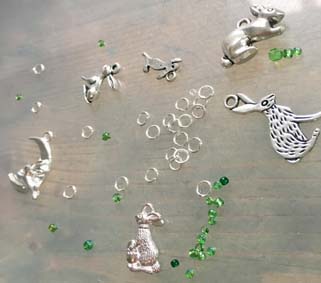
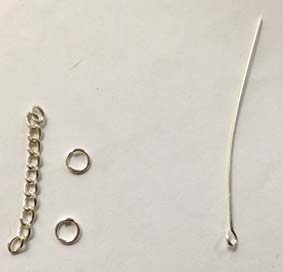
You will need: 6 smaller charms and one big charm (I’m sticking to hares for this example), some memory wire, small split rings, beads (ranging from tiny seed beads to 8mm beads), 2 eye pins, chain and one large crystal. Put the split rings onto the charms.
Also round nosed pliers, flat nosed pliers and wire cutters.
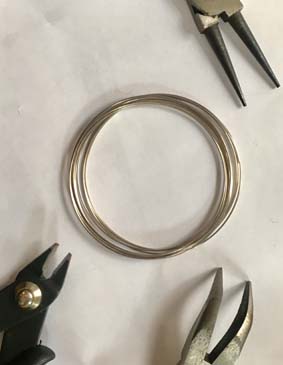
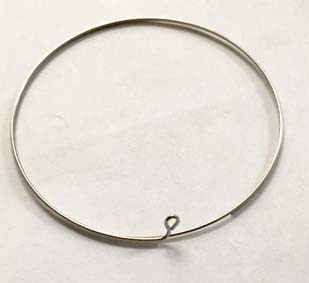
Cut about 3 rounds of the wire.
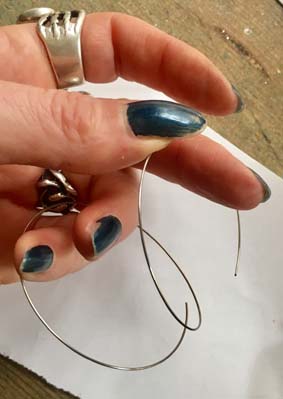
Bend the top (about a centimetre) and form a loop with the round nosed pliers.
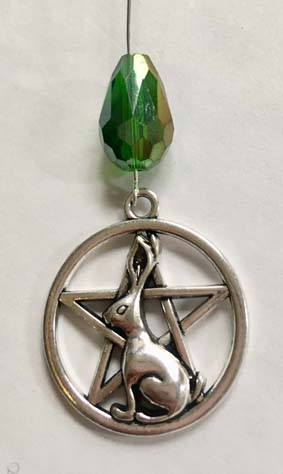
Chose a colour theme and pick a large crystal for the bottom decoration – I’ve decided on green.
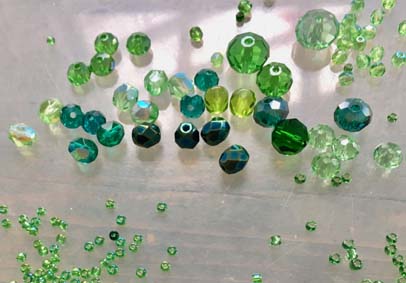
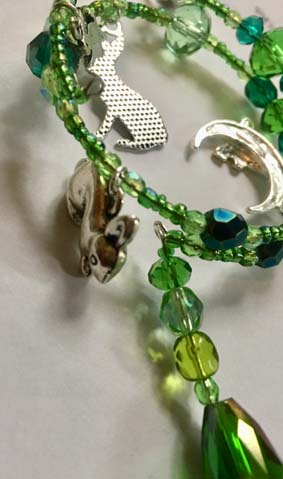
Select some beads. I’ve chosen some tiny seed beads, slightly larger ones, 4mm glass beads, 6mm glass beads and a couple of 8mm glass beads. Try varying the shades and add in some feature beads.
Make up a pattern to follow. I actually wrote this one down, but with the idea that I can vary it depending on how I feel. It was almost like following a knitting pattern (though not as complex).
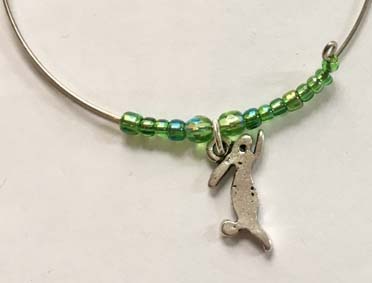
Try to put the charms into the pattern fairly evenly. Also make sure that if the charm is one-sided that it is around the right way, facing outwards and checking that you’re holding the spiral the right way up.
Finish with another loop, pointing downwards.
Make your bottom decoration, sticking to the bead theme.
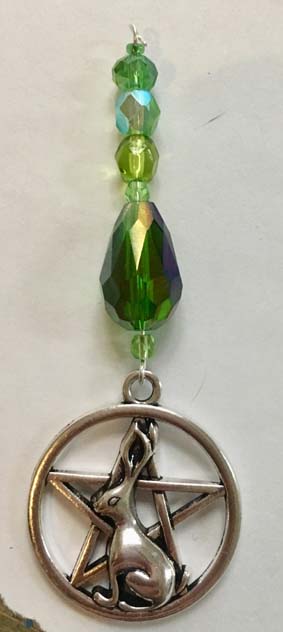
Connect to the lower loop, making sure that the charm is facing the right way.
Now you will need to gently twist and coax the wire into a stretched coil – be firm but gentle at this point.
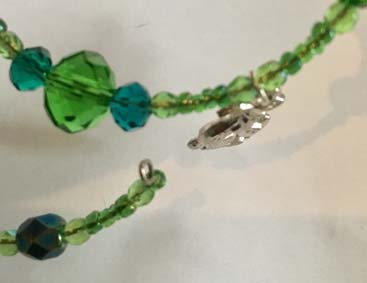
Finally make a hook to hang your spiral. The
photo has 2 split rings, but you actually only need one, as the eye pin has its
own ring.
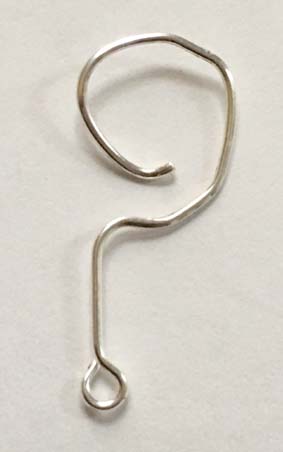
Bend the eye pin into a hook – don’t worry about
it looking too perfect as it looks good when it is a bit quirky.
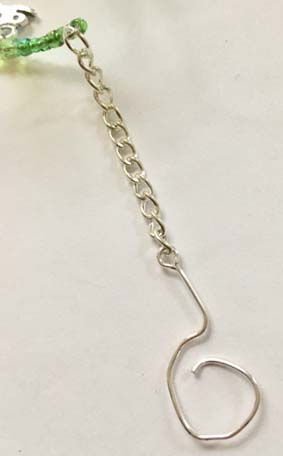
Add to the spiral.
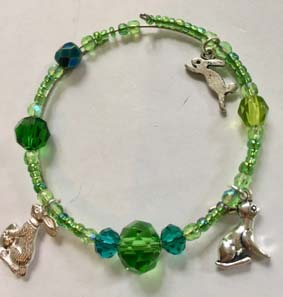
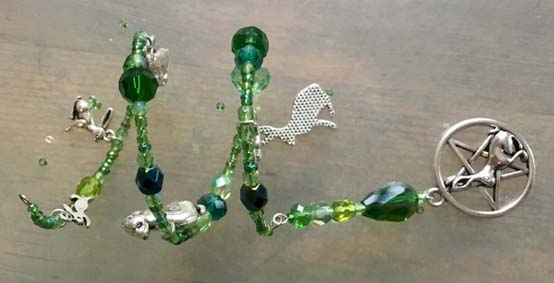
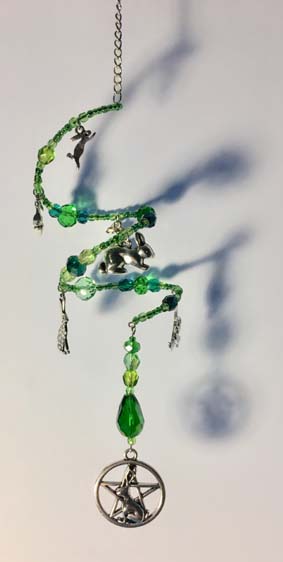
The end result should look something like this!
I hope you enjoyed this tutorial!
Please follow me on Facebook Vikki Yeates illustration.