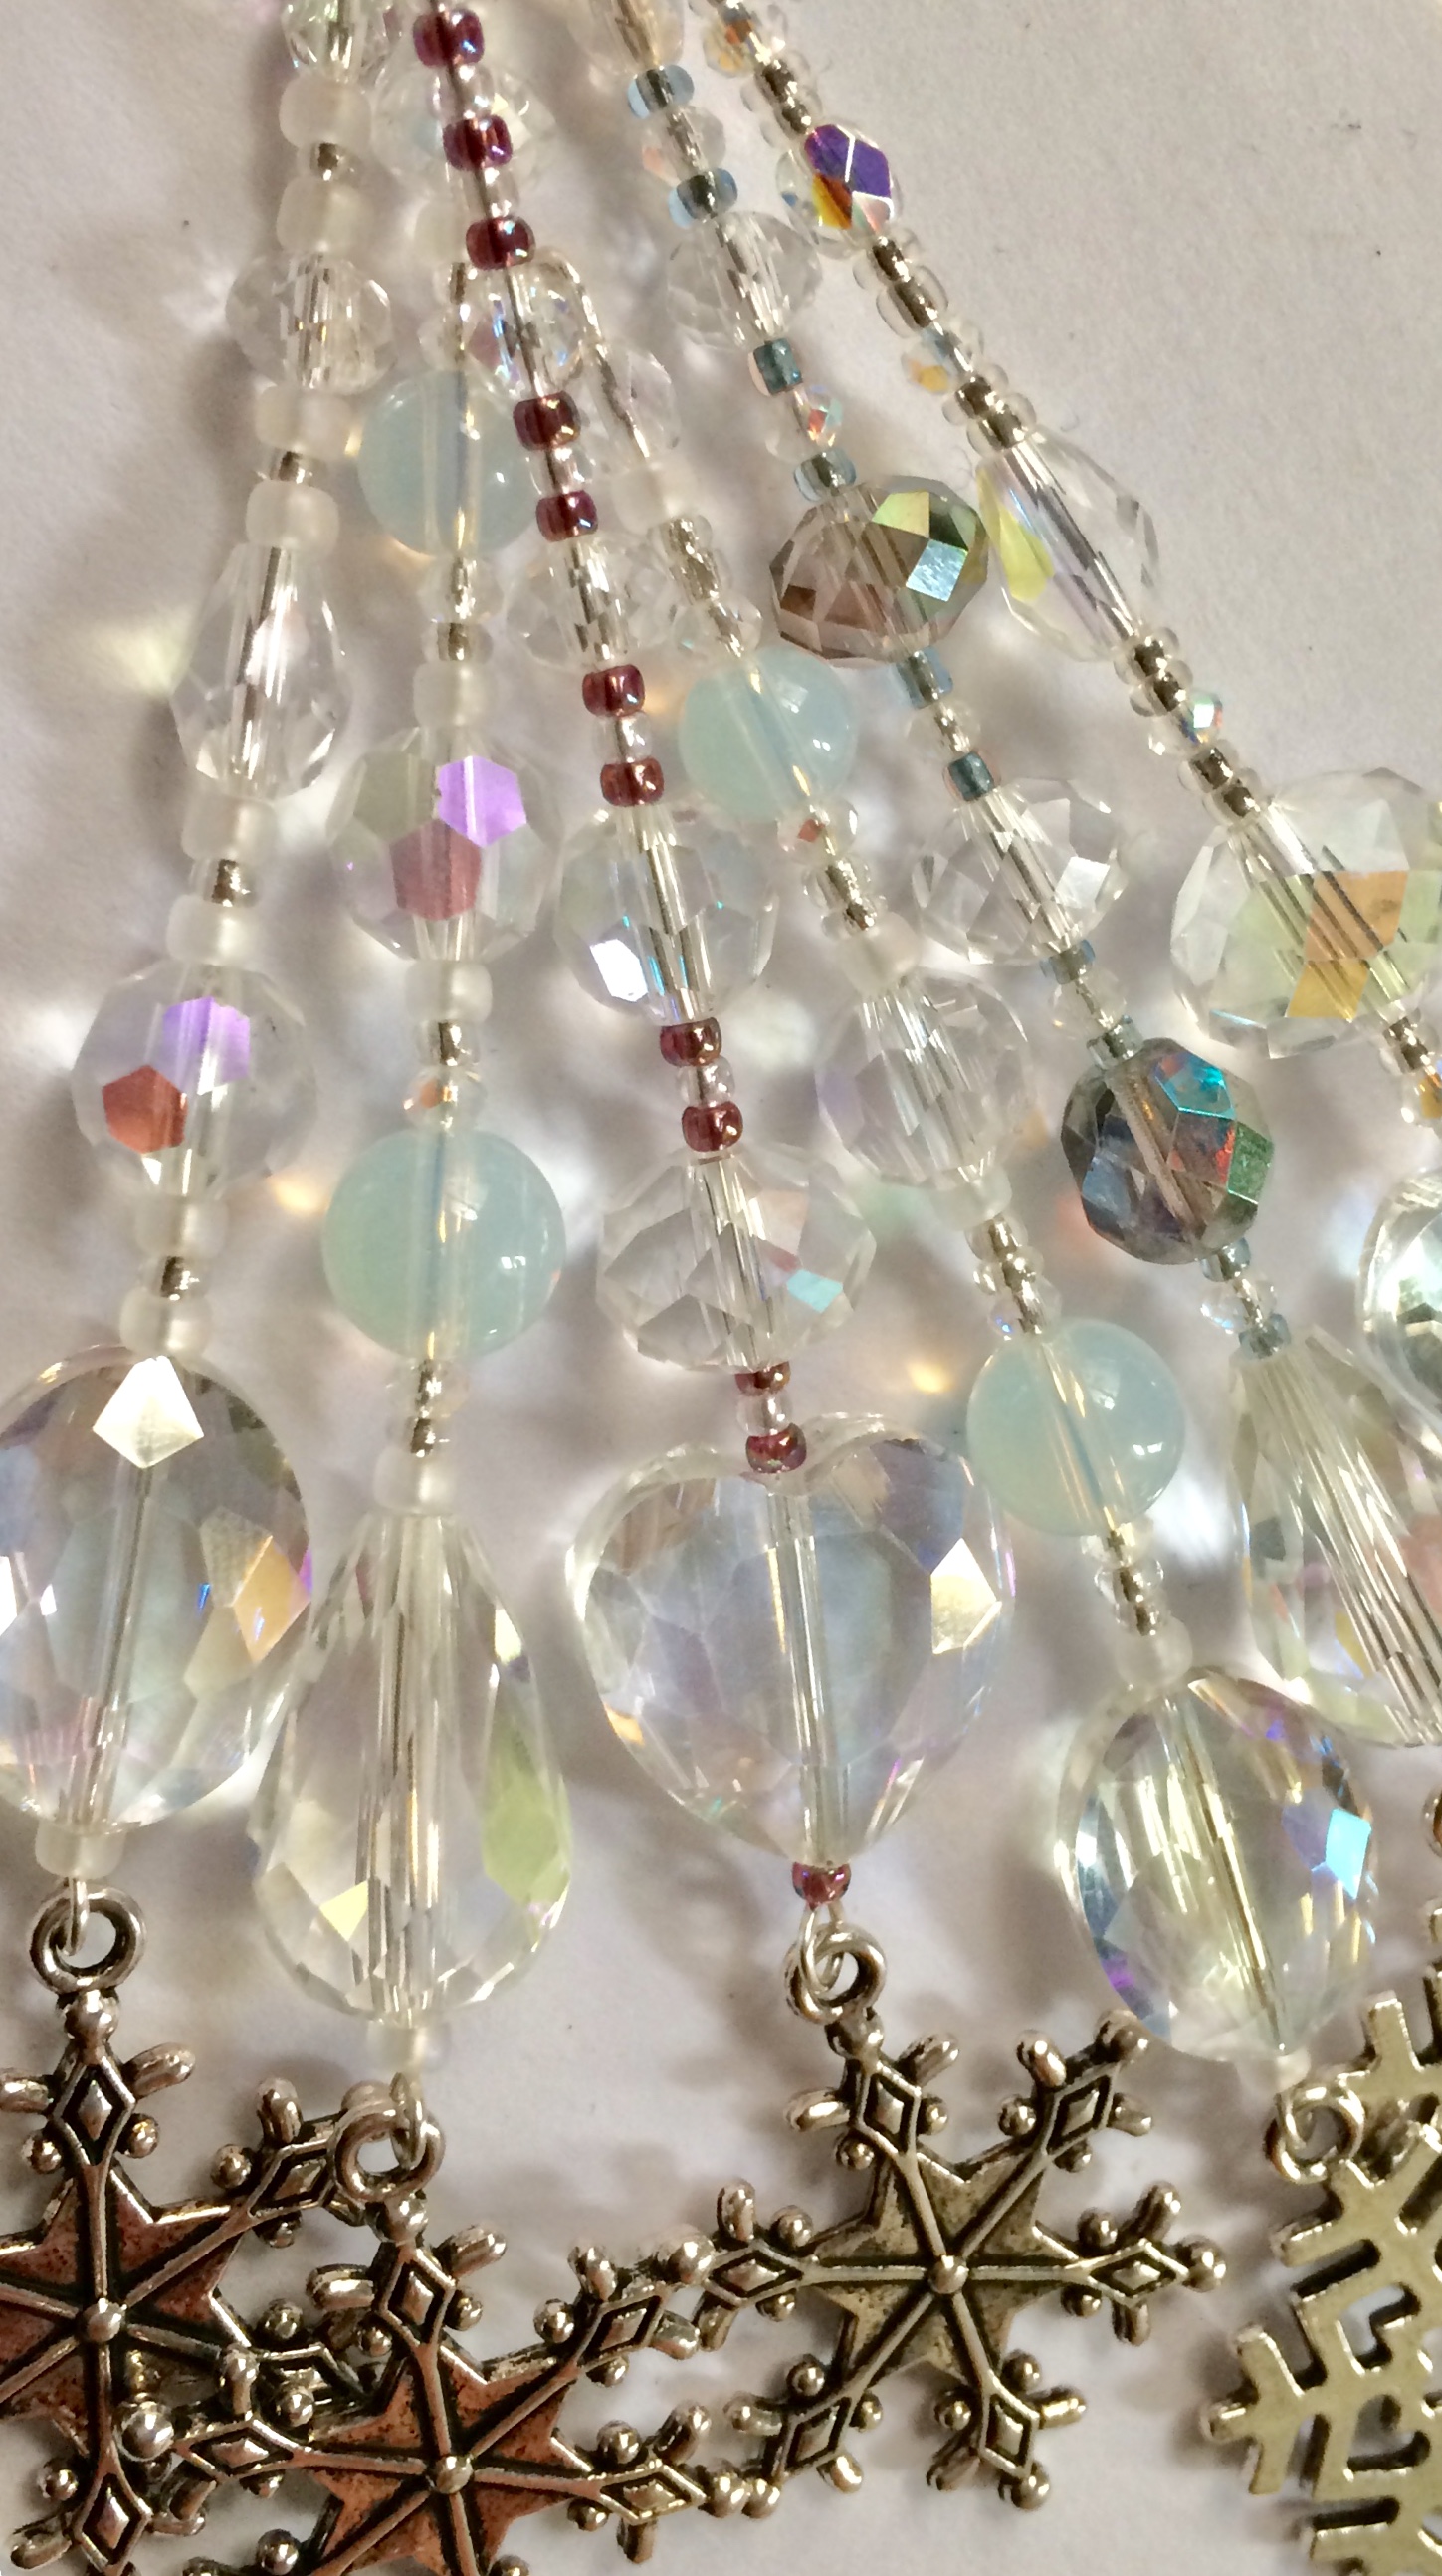
Make your own Festive Snowflake decoration!
At this time of year I spend a lot of time experimenting with beautiful beads and crystals, so I thought it would be fun to demonstrate how you can make your own Festive Snowflake decoration.
You will need . . .
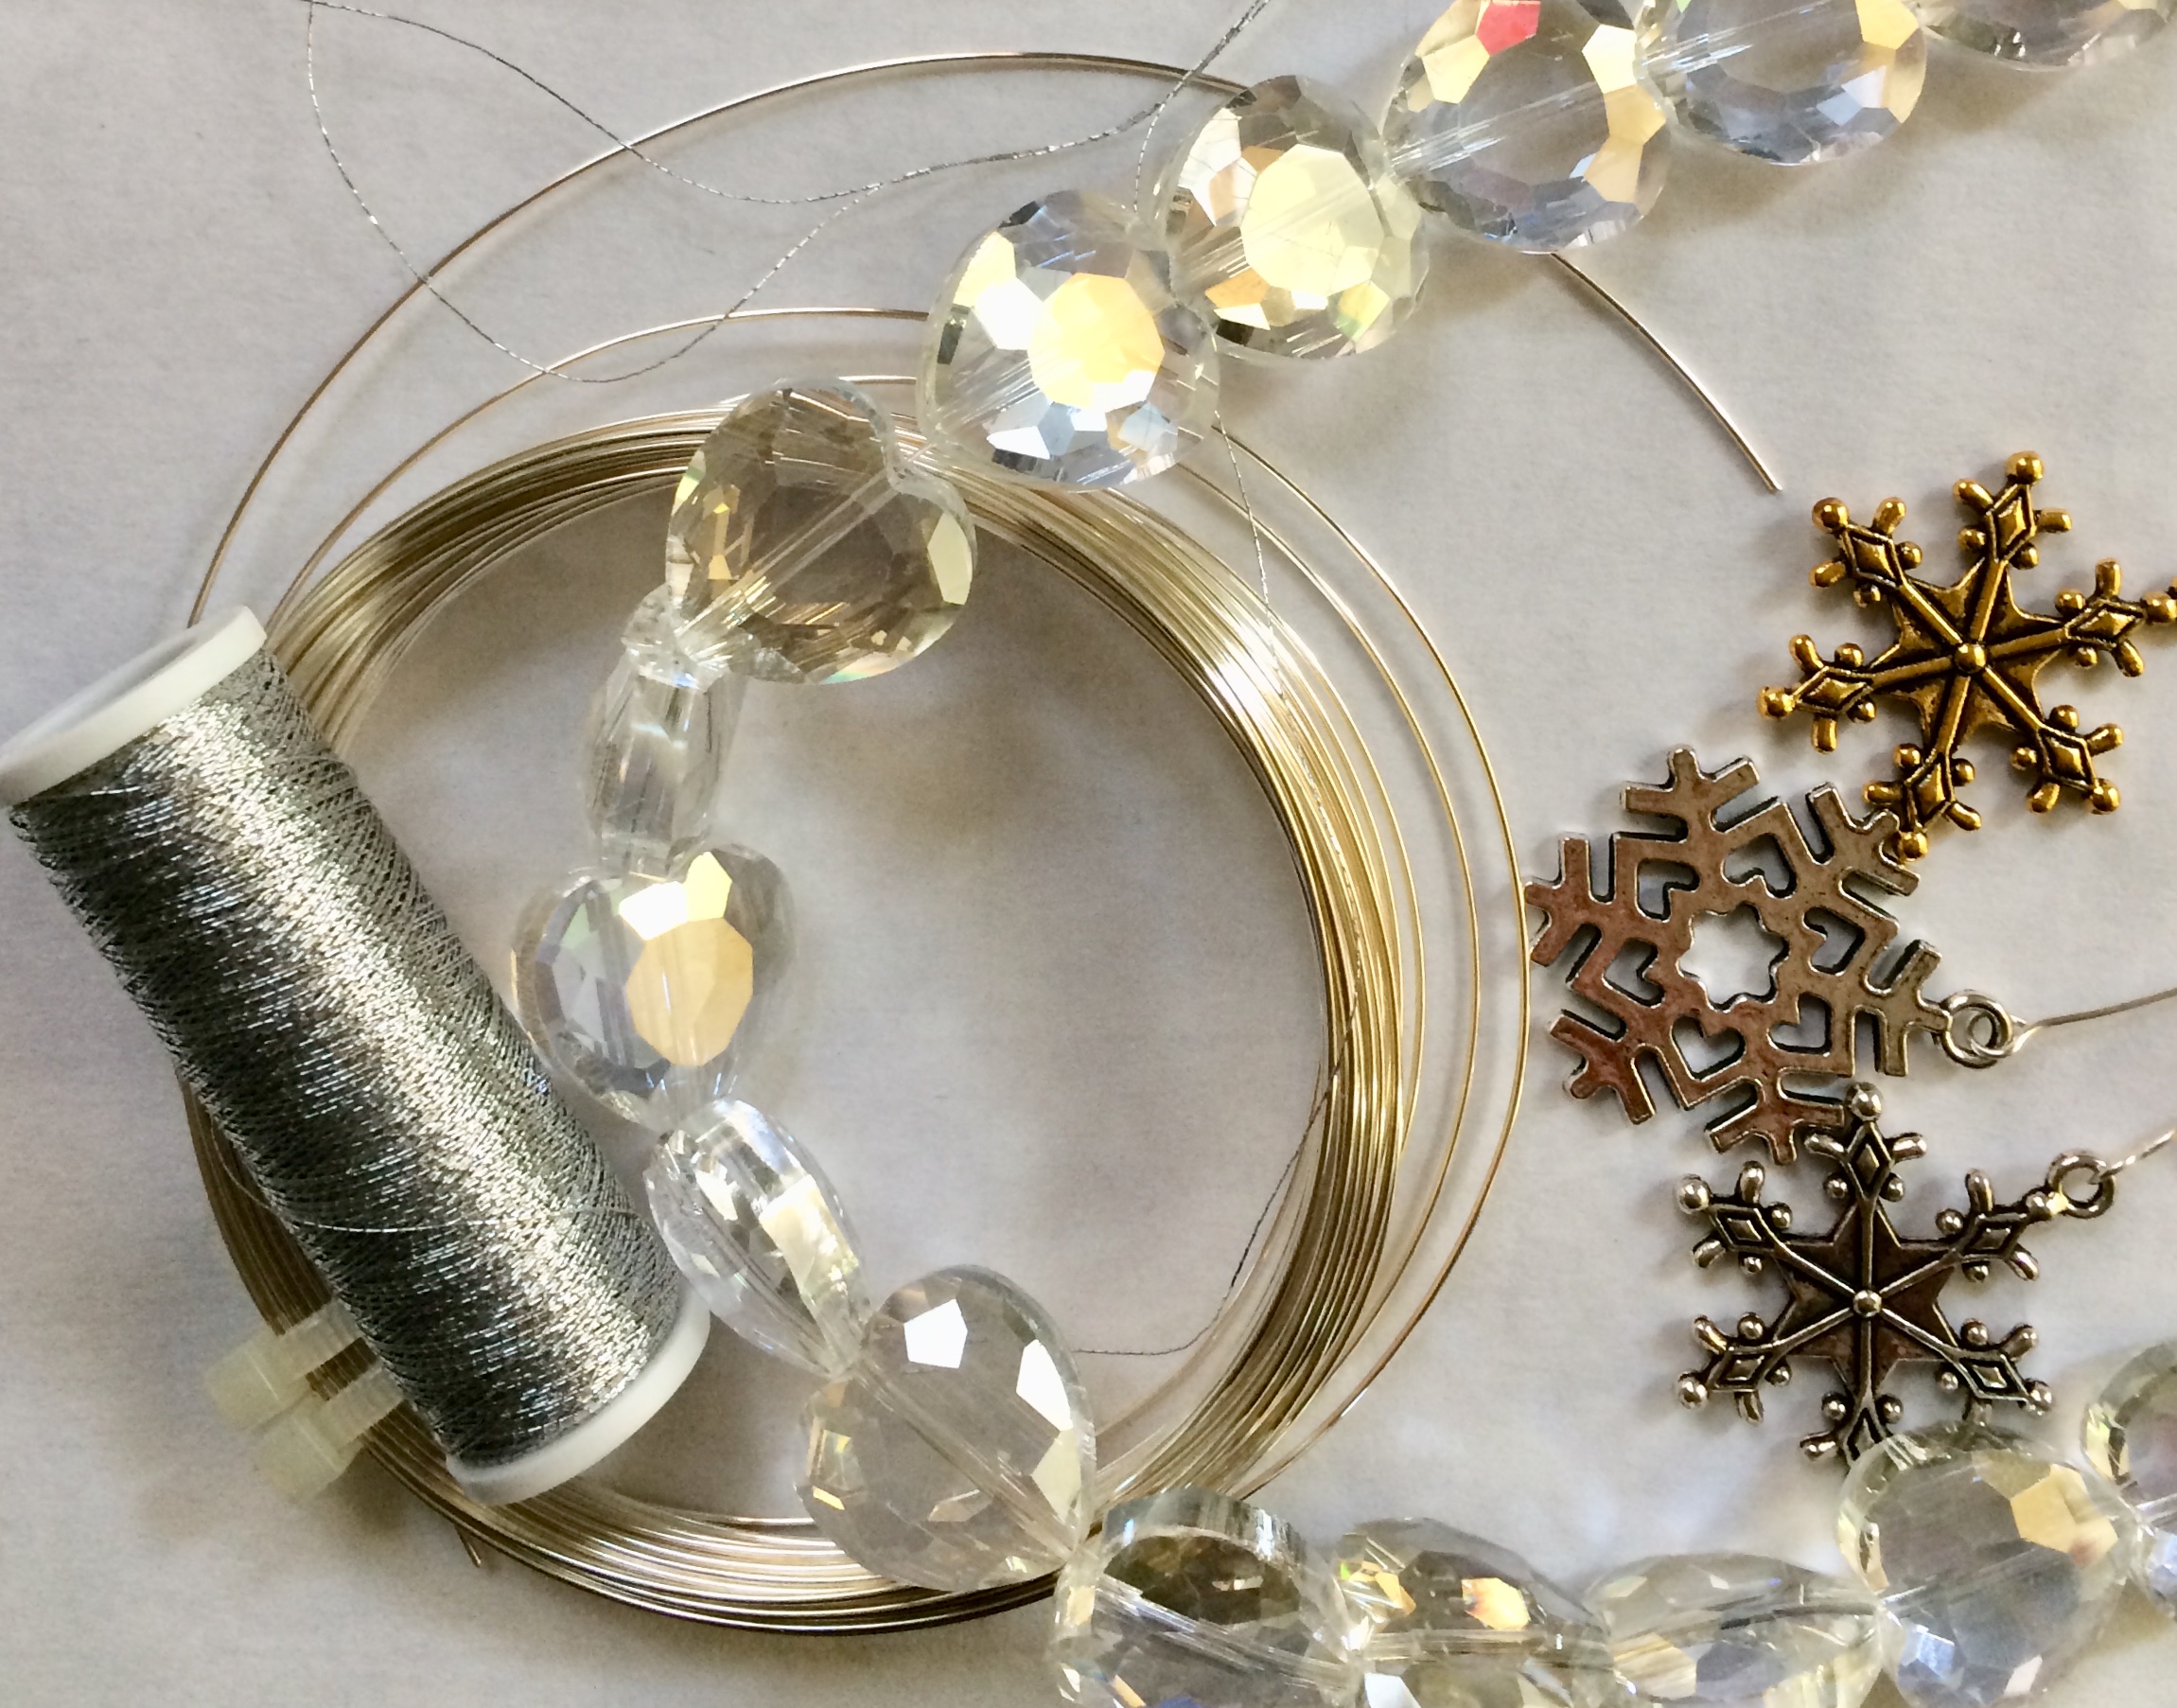
A snowflake charm, silver wire, large crystal, beads (various sizes), silver thread and jewellery making tools (round nosed pliers, long nosed pliers, wire cutting tool).
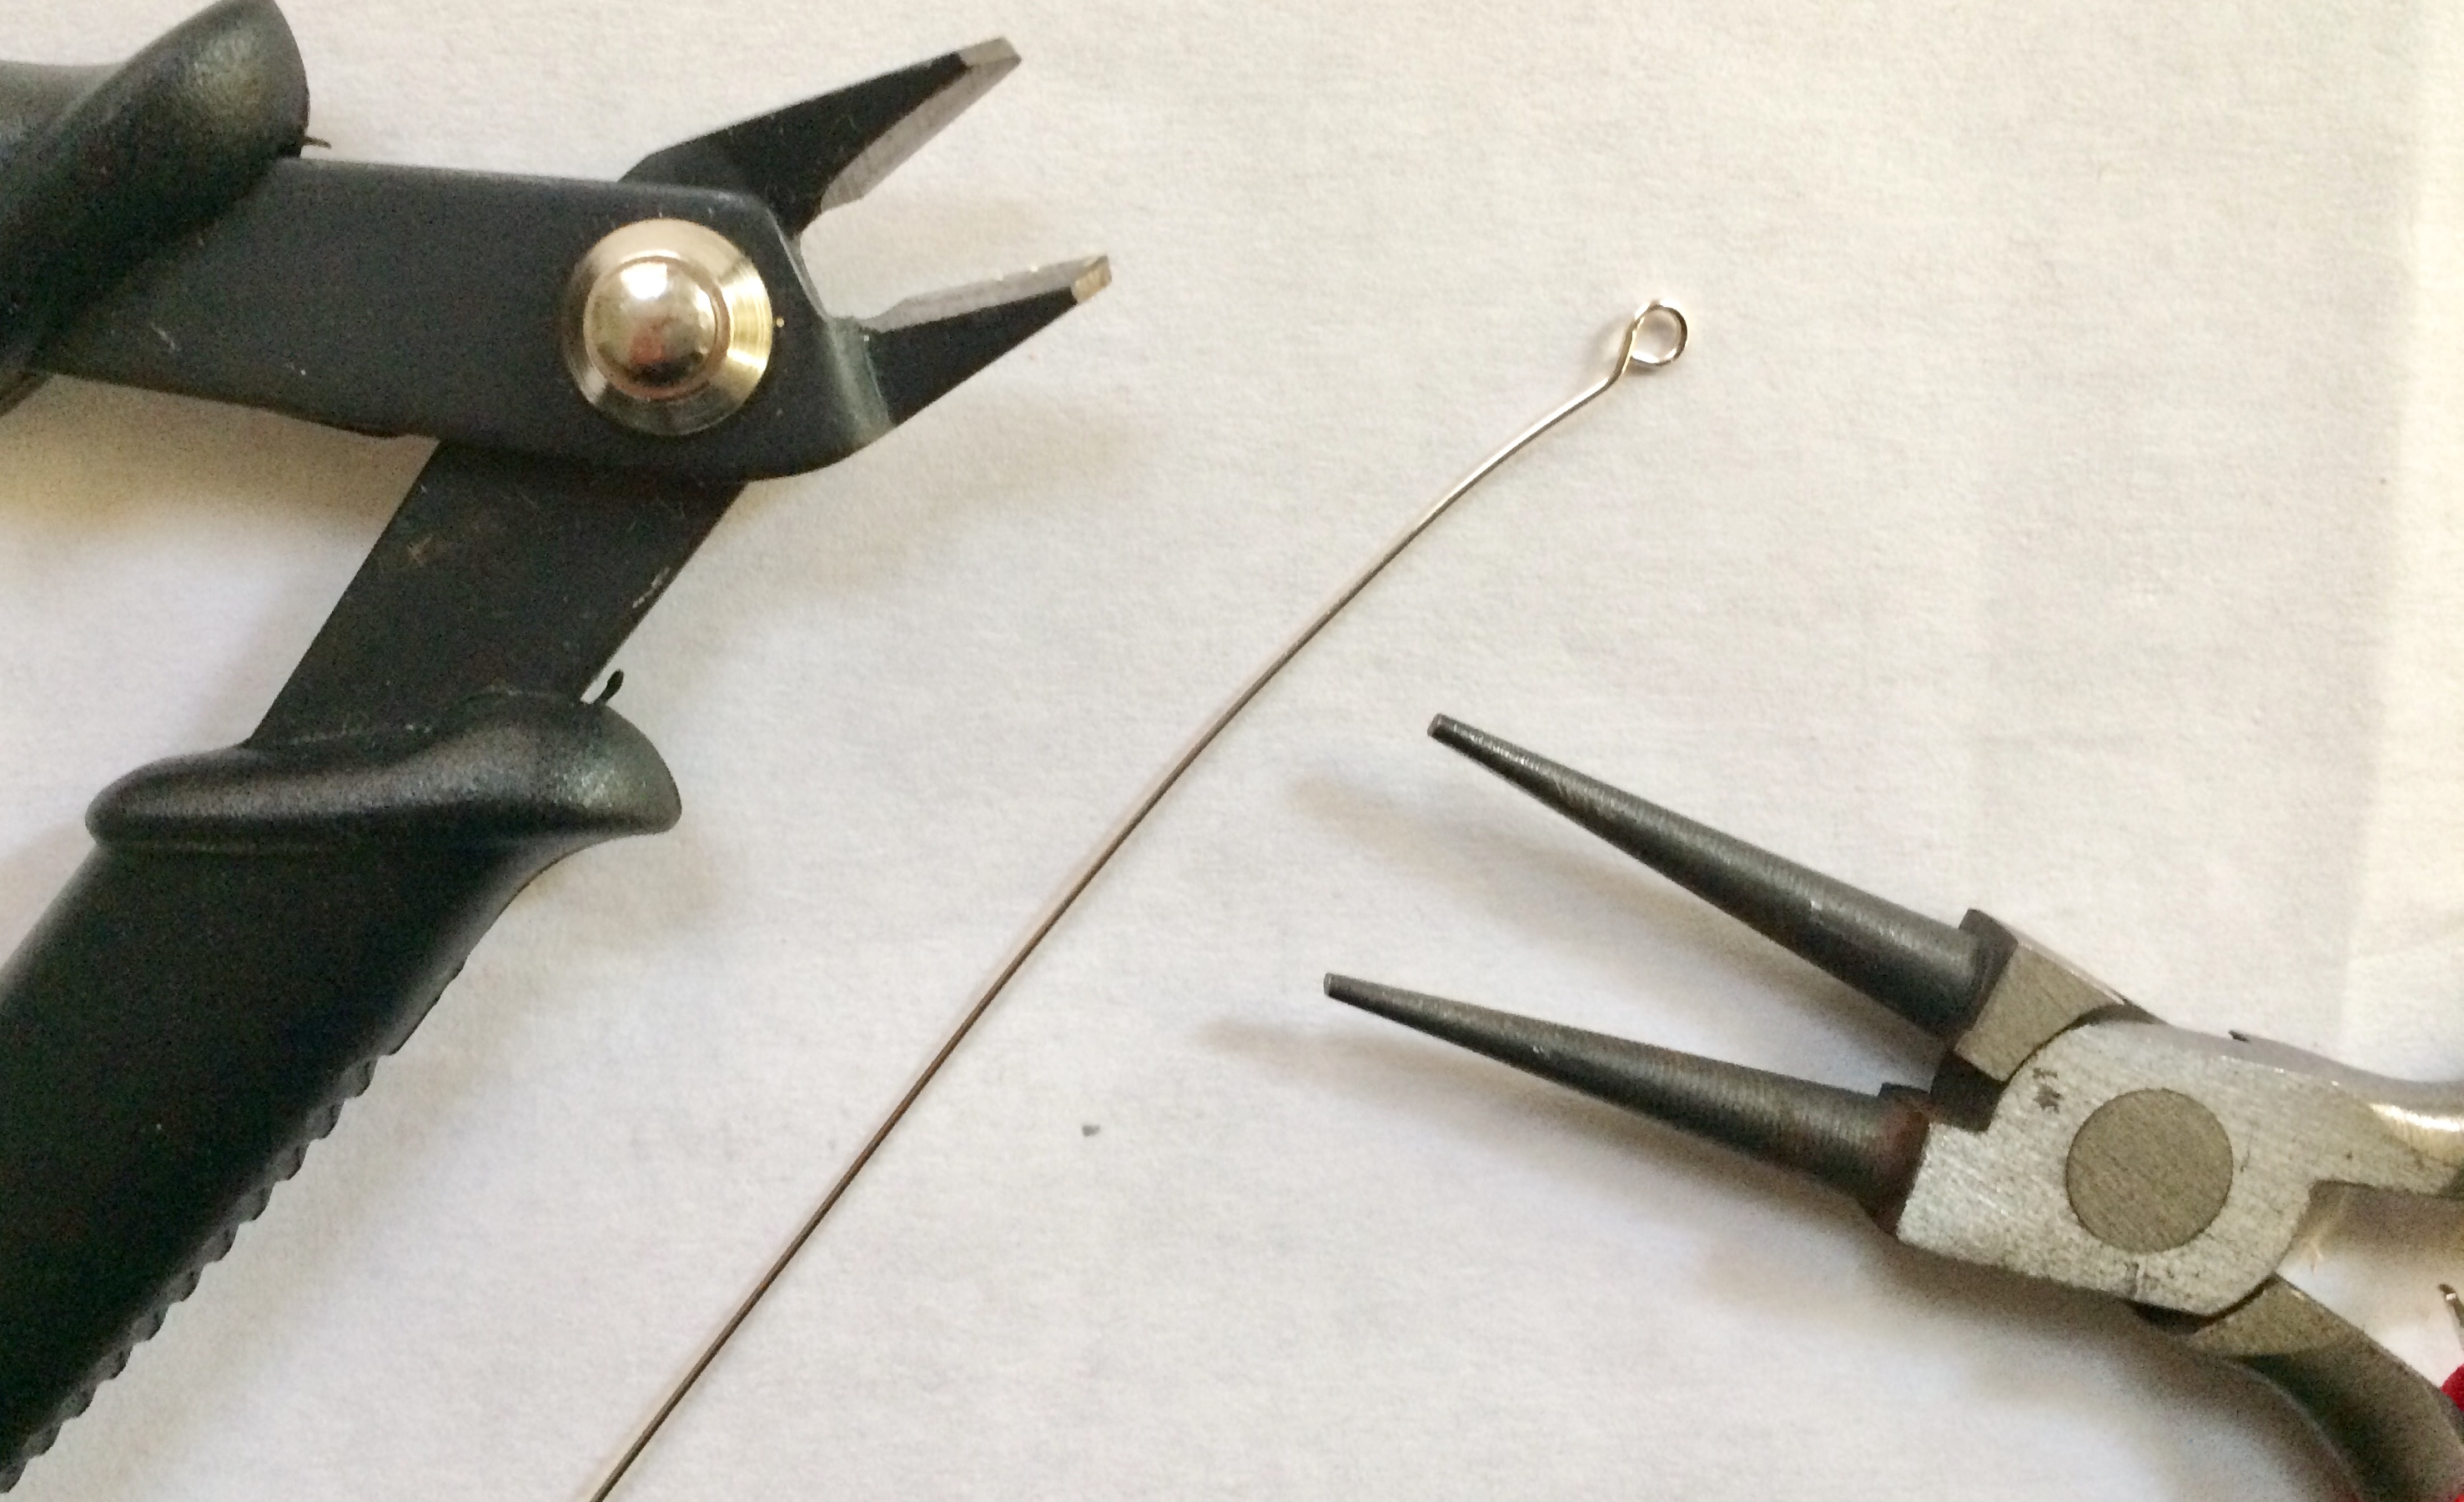
Cut your wire to desired length (this one is about 3 inches), bend the end about 1 cm then curl round with the round nosed pliers. If you haven't done this before I would recommend a few practice runs as it's a bit tricky at first.
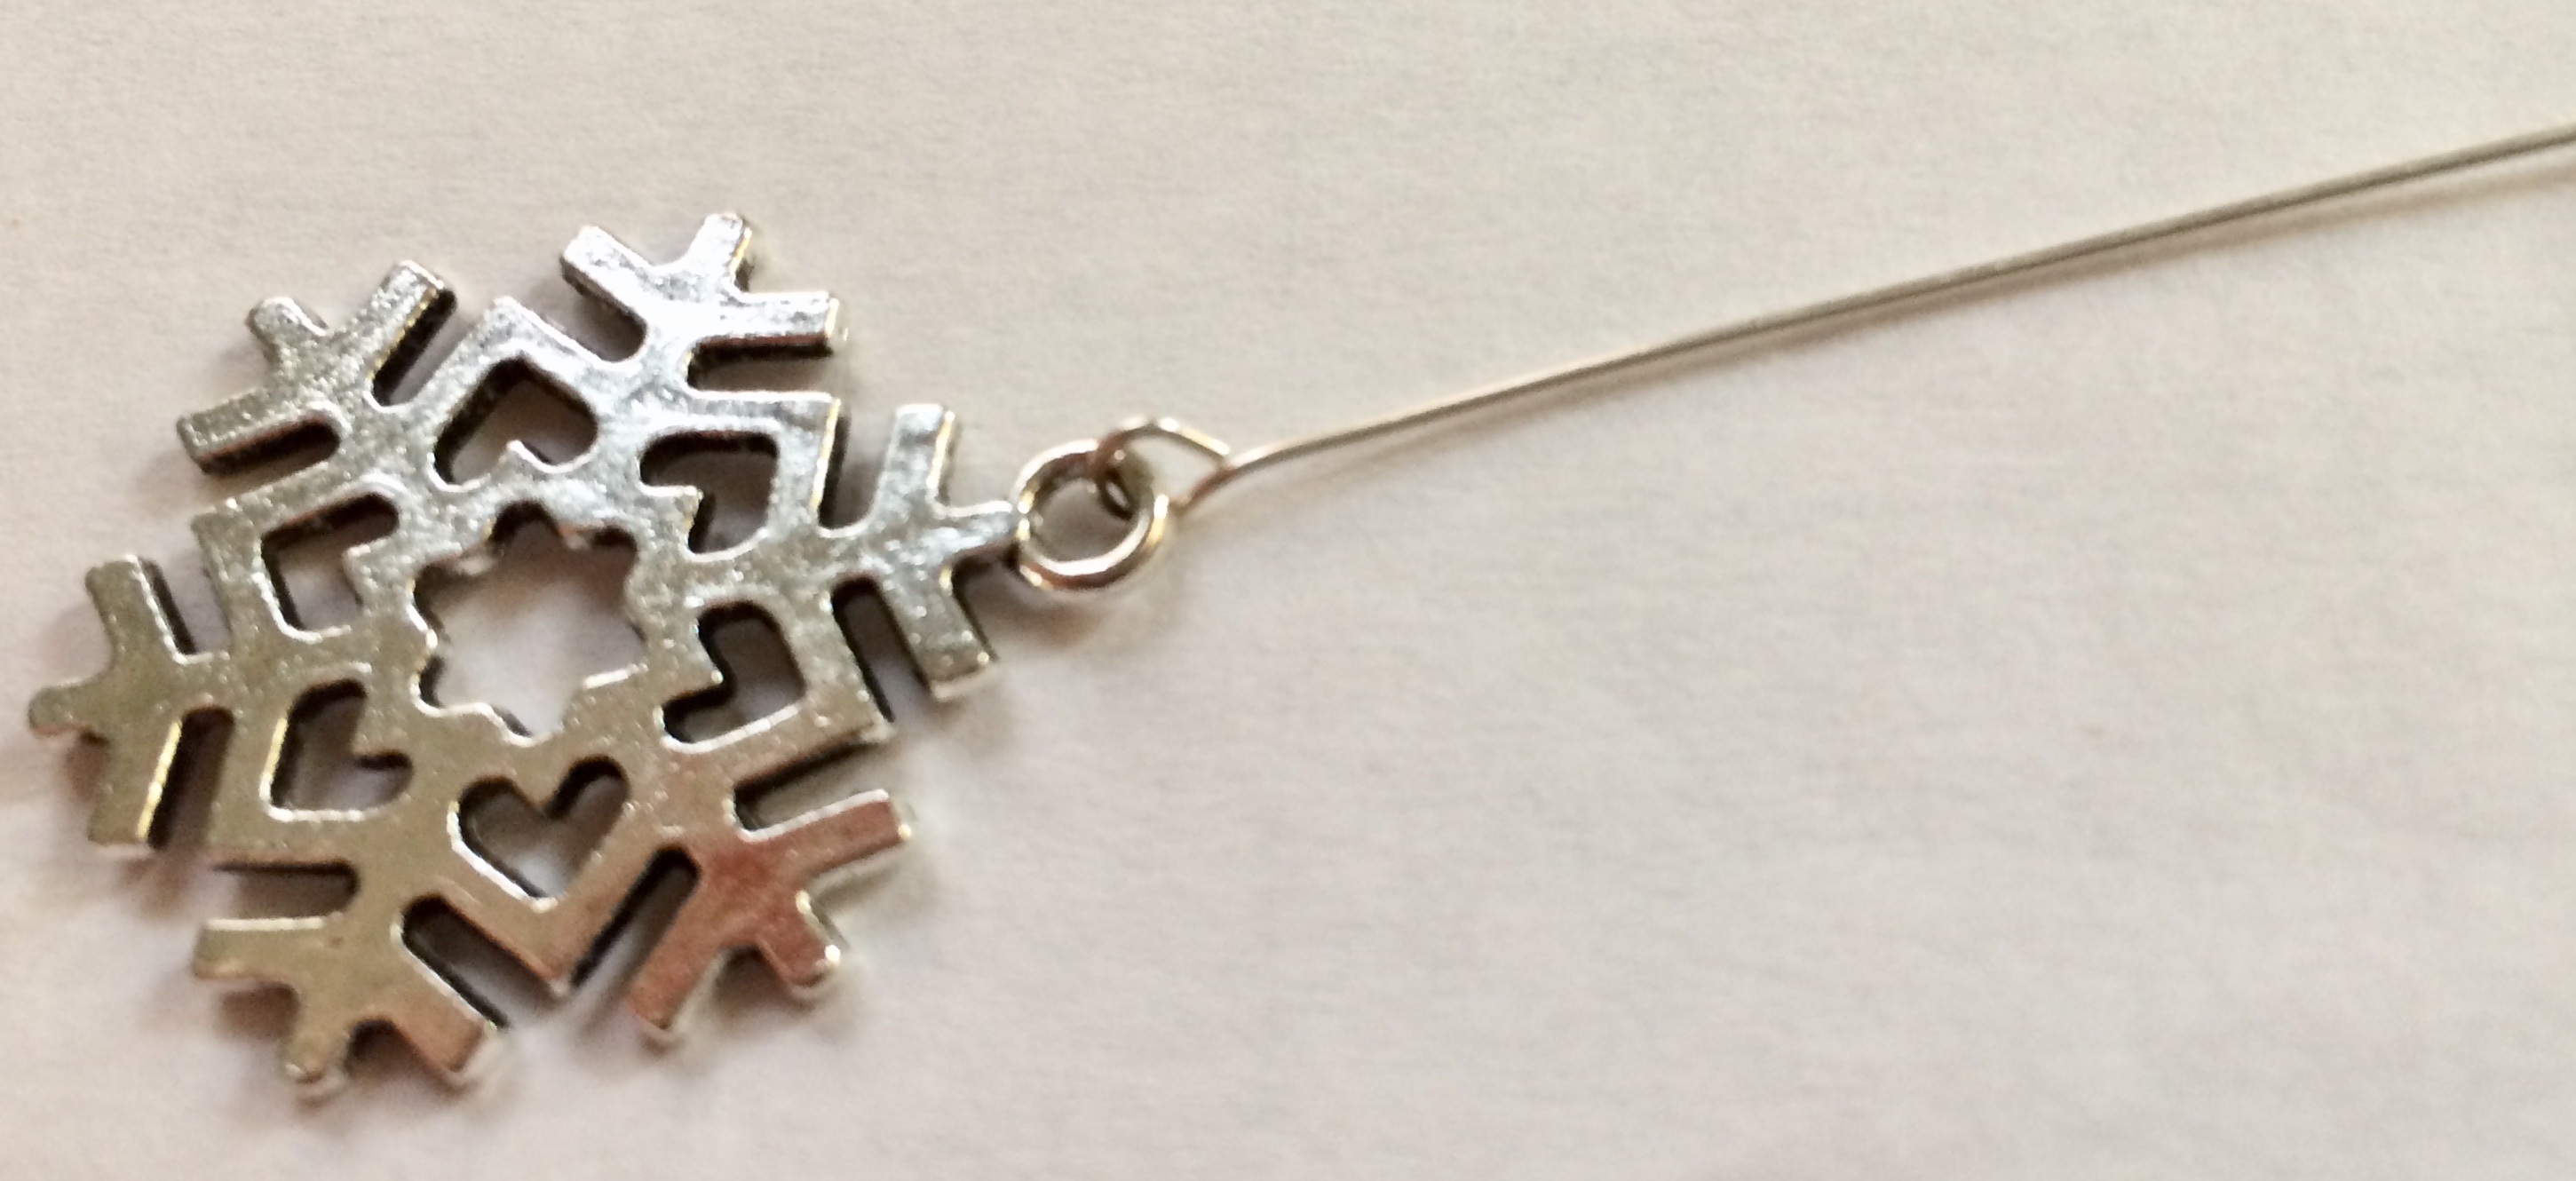
Open your new hoop and attach the charm. Try not to leave a gap.
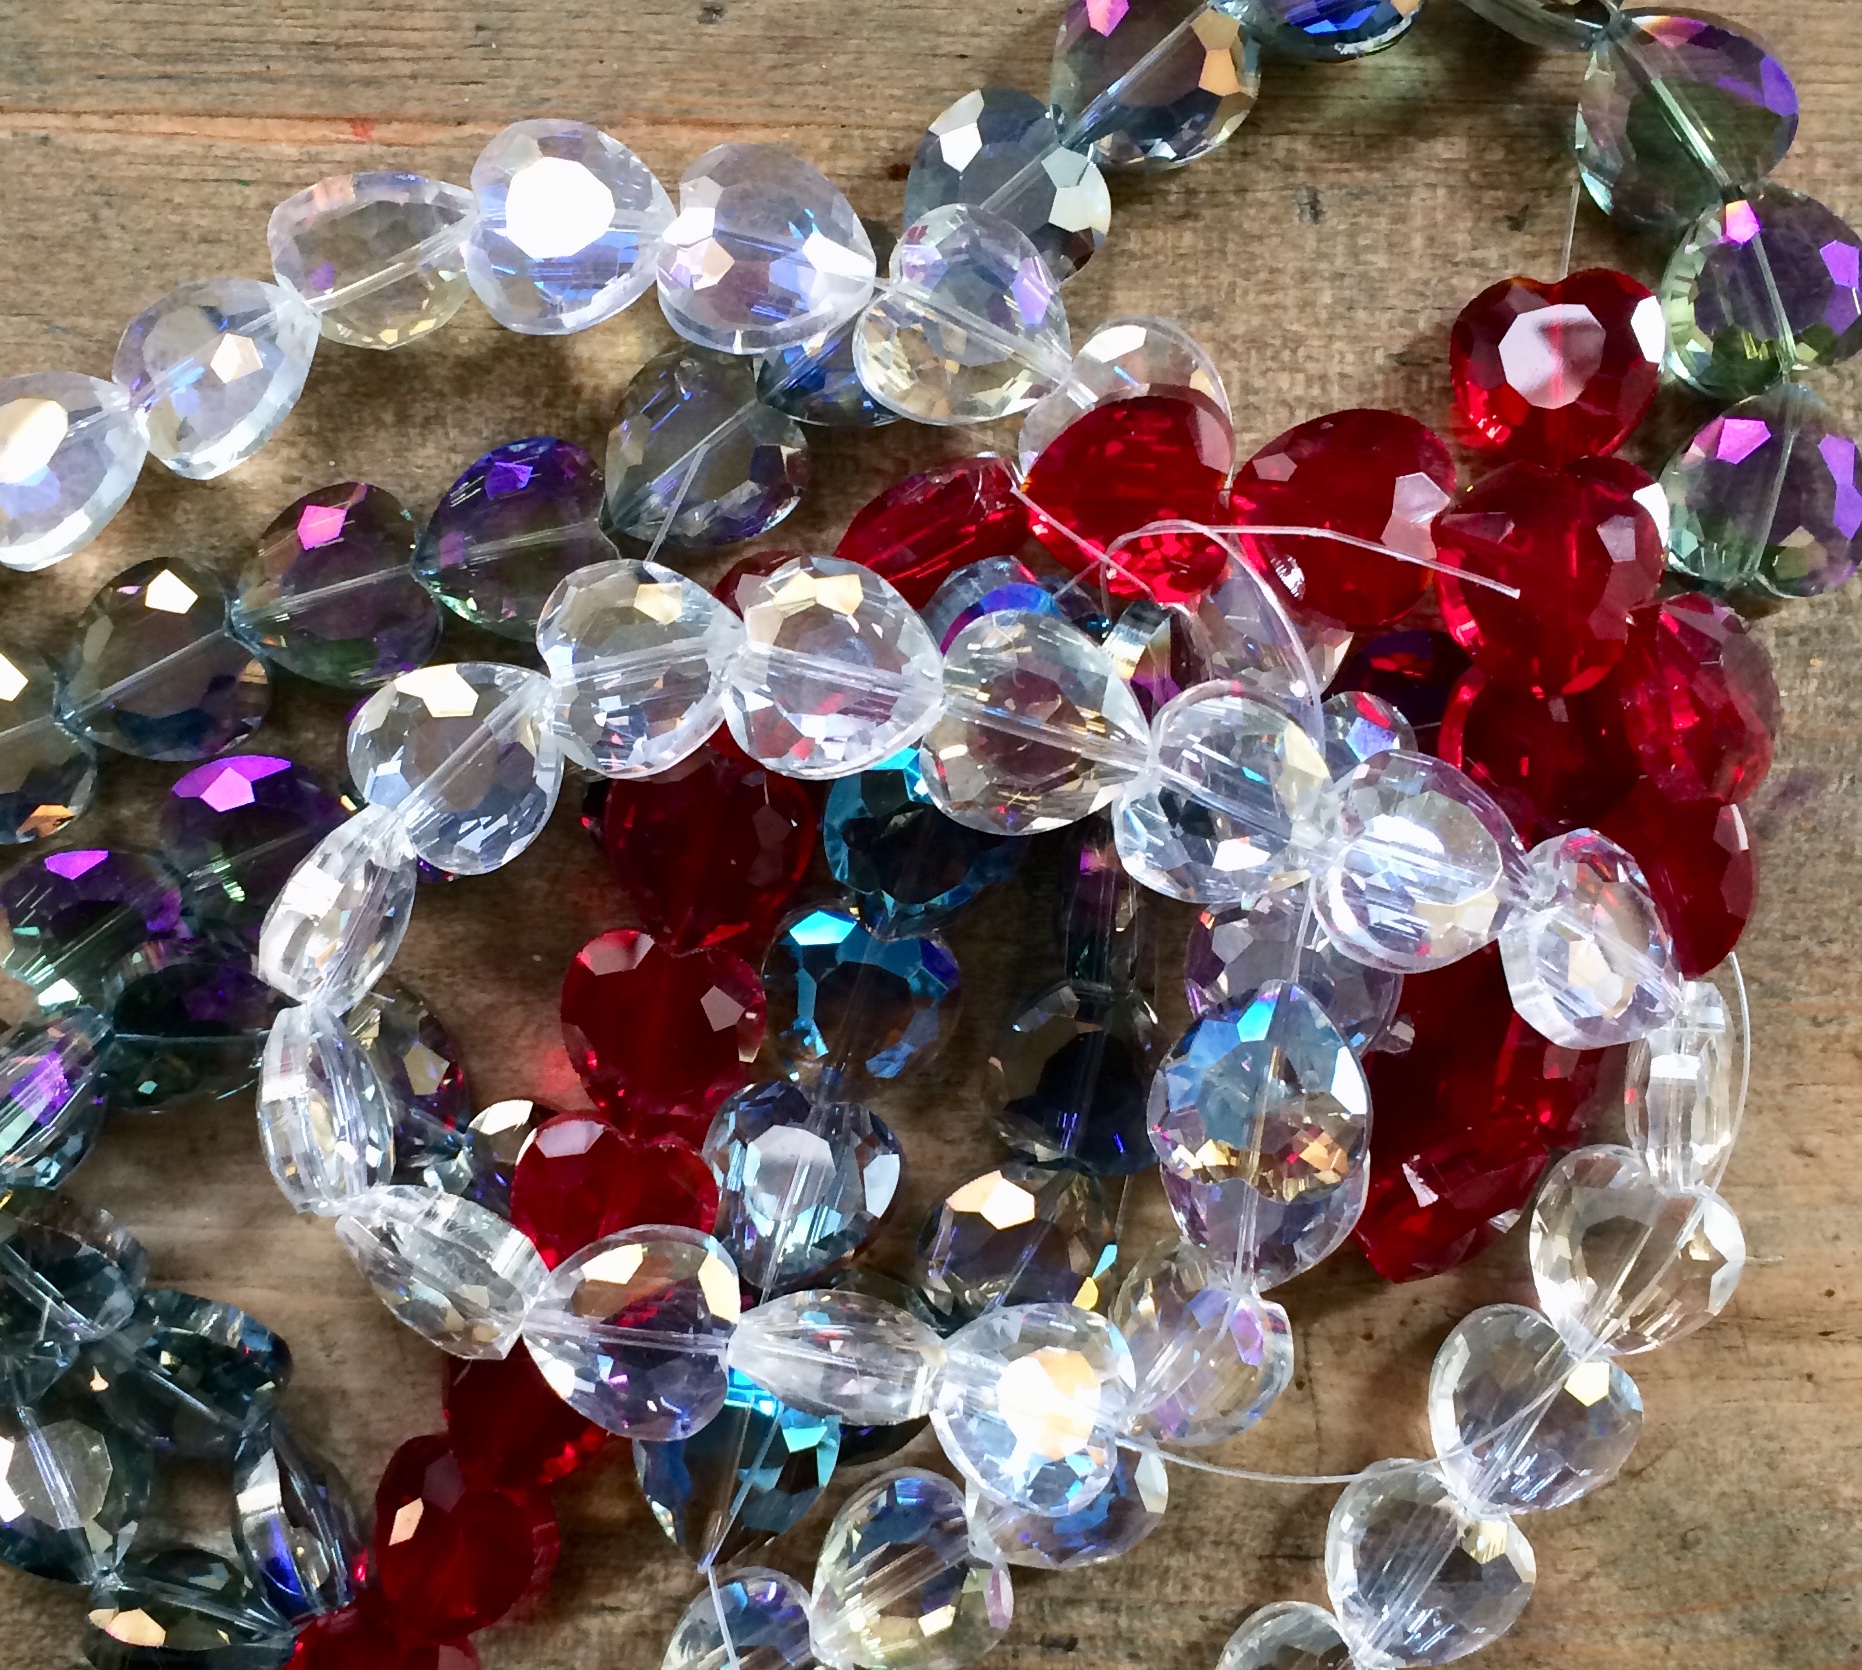
Decide on an attractive colour combination and choose a large crystal for the bottom of your decoration.
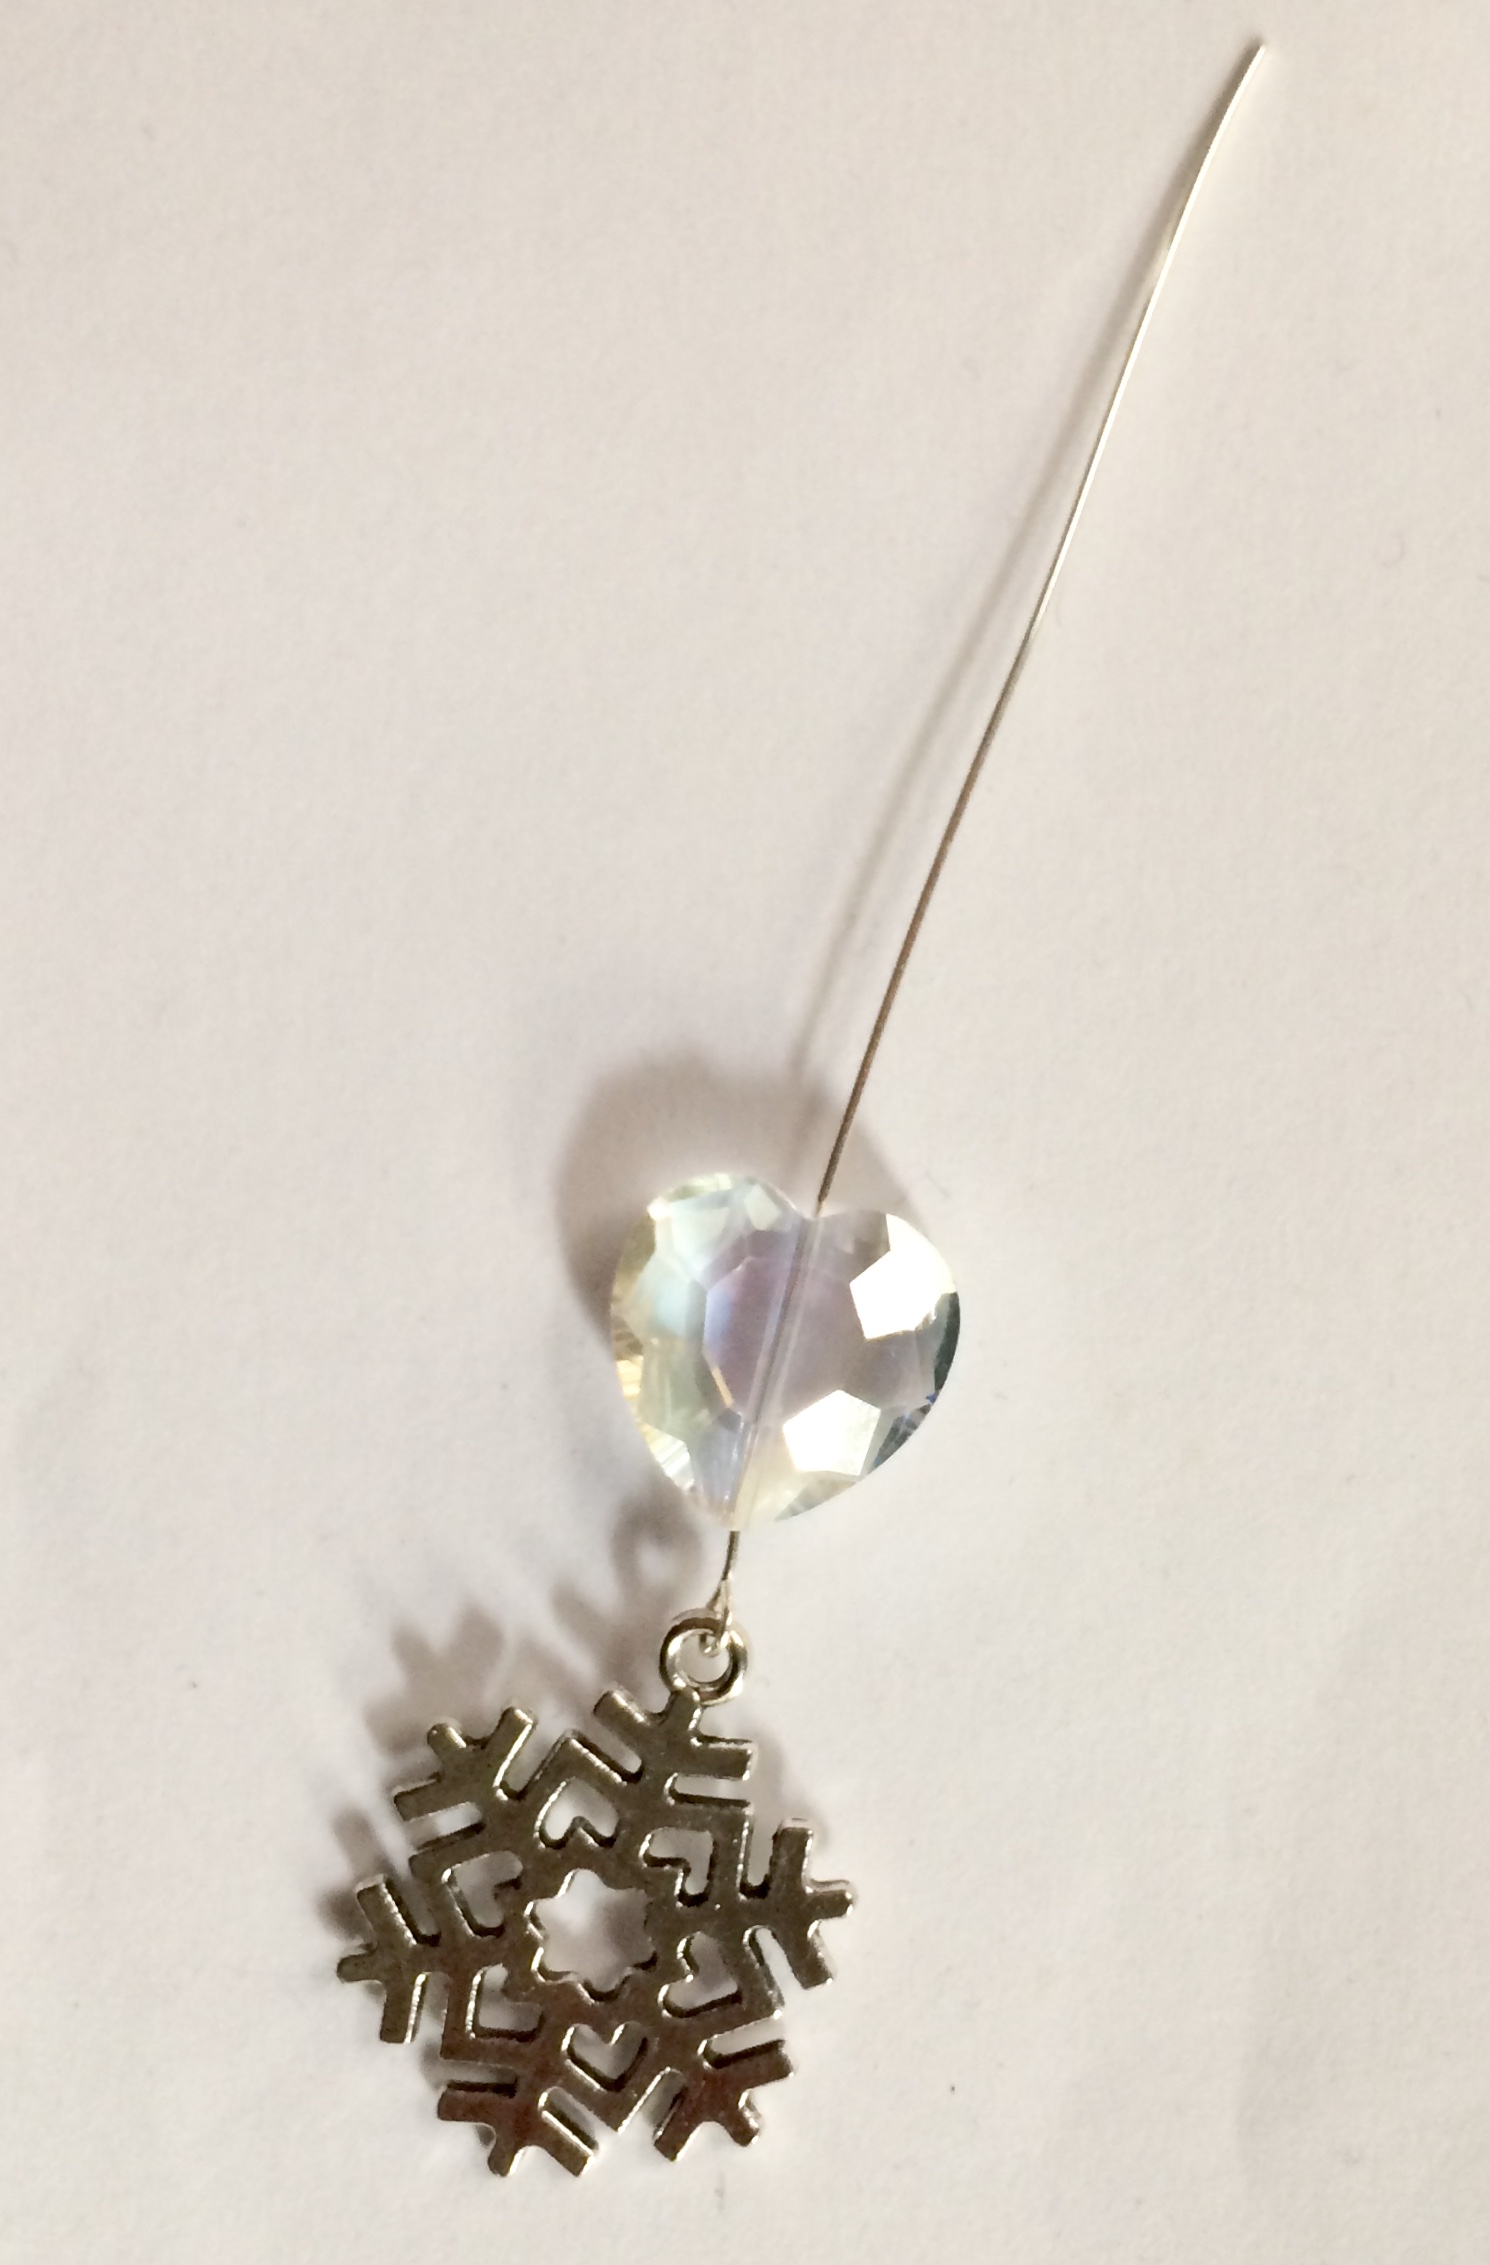
For iridescent beads get AB (aurora borealis) coating for a particularly shimmery effect.
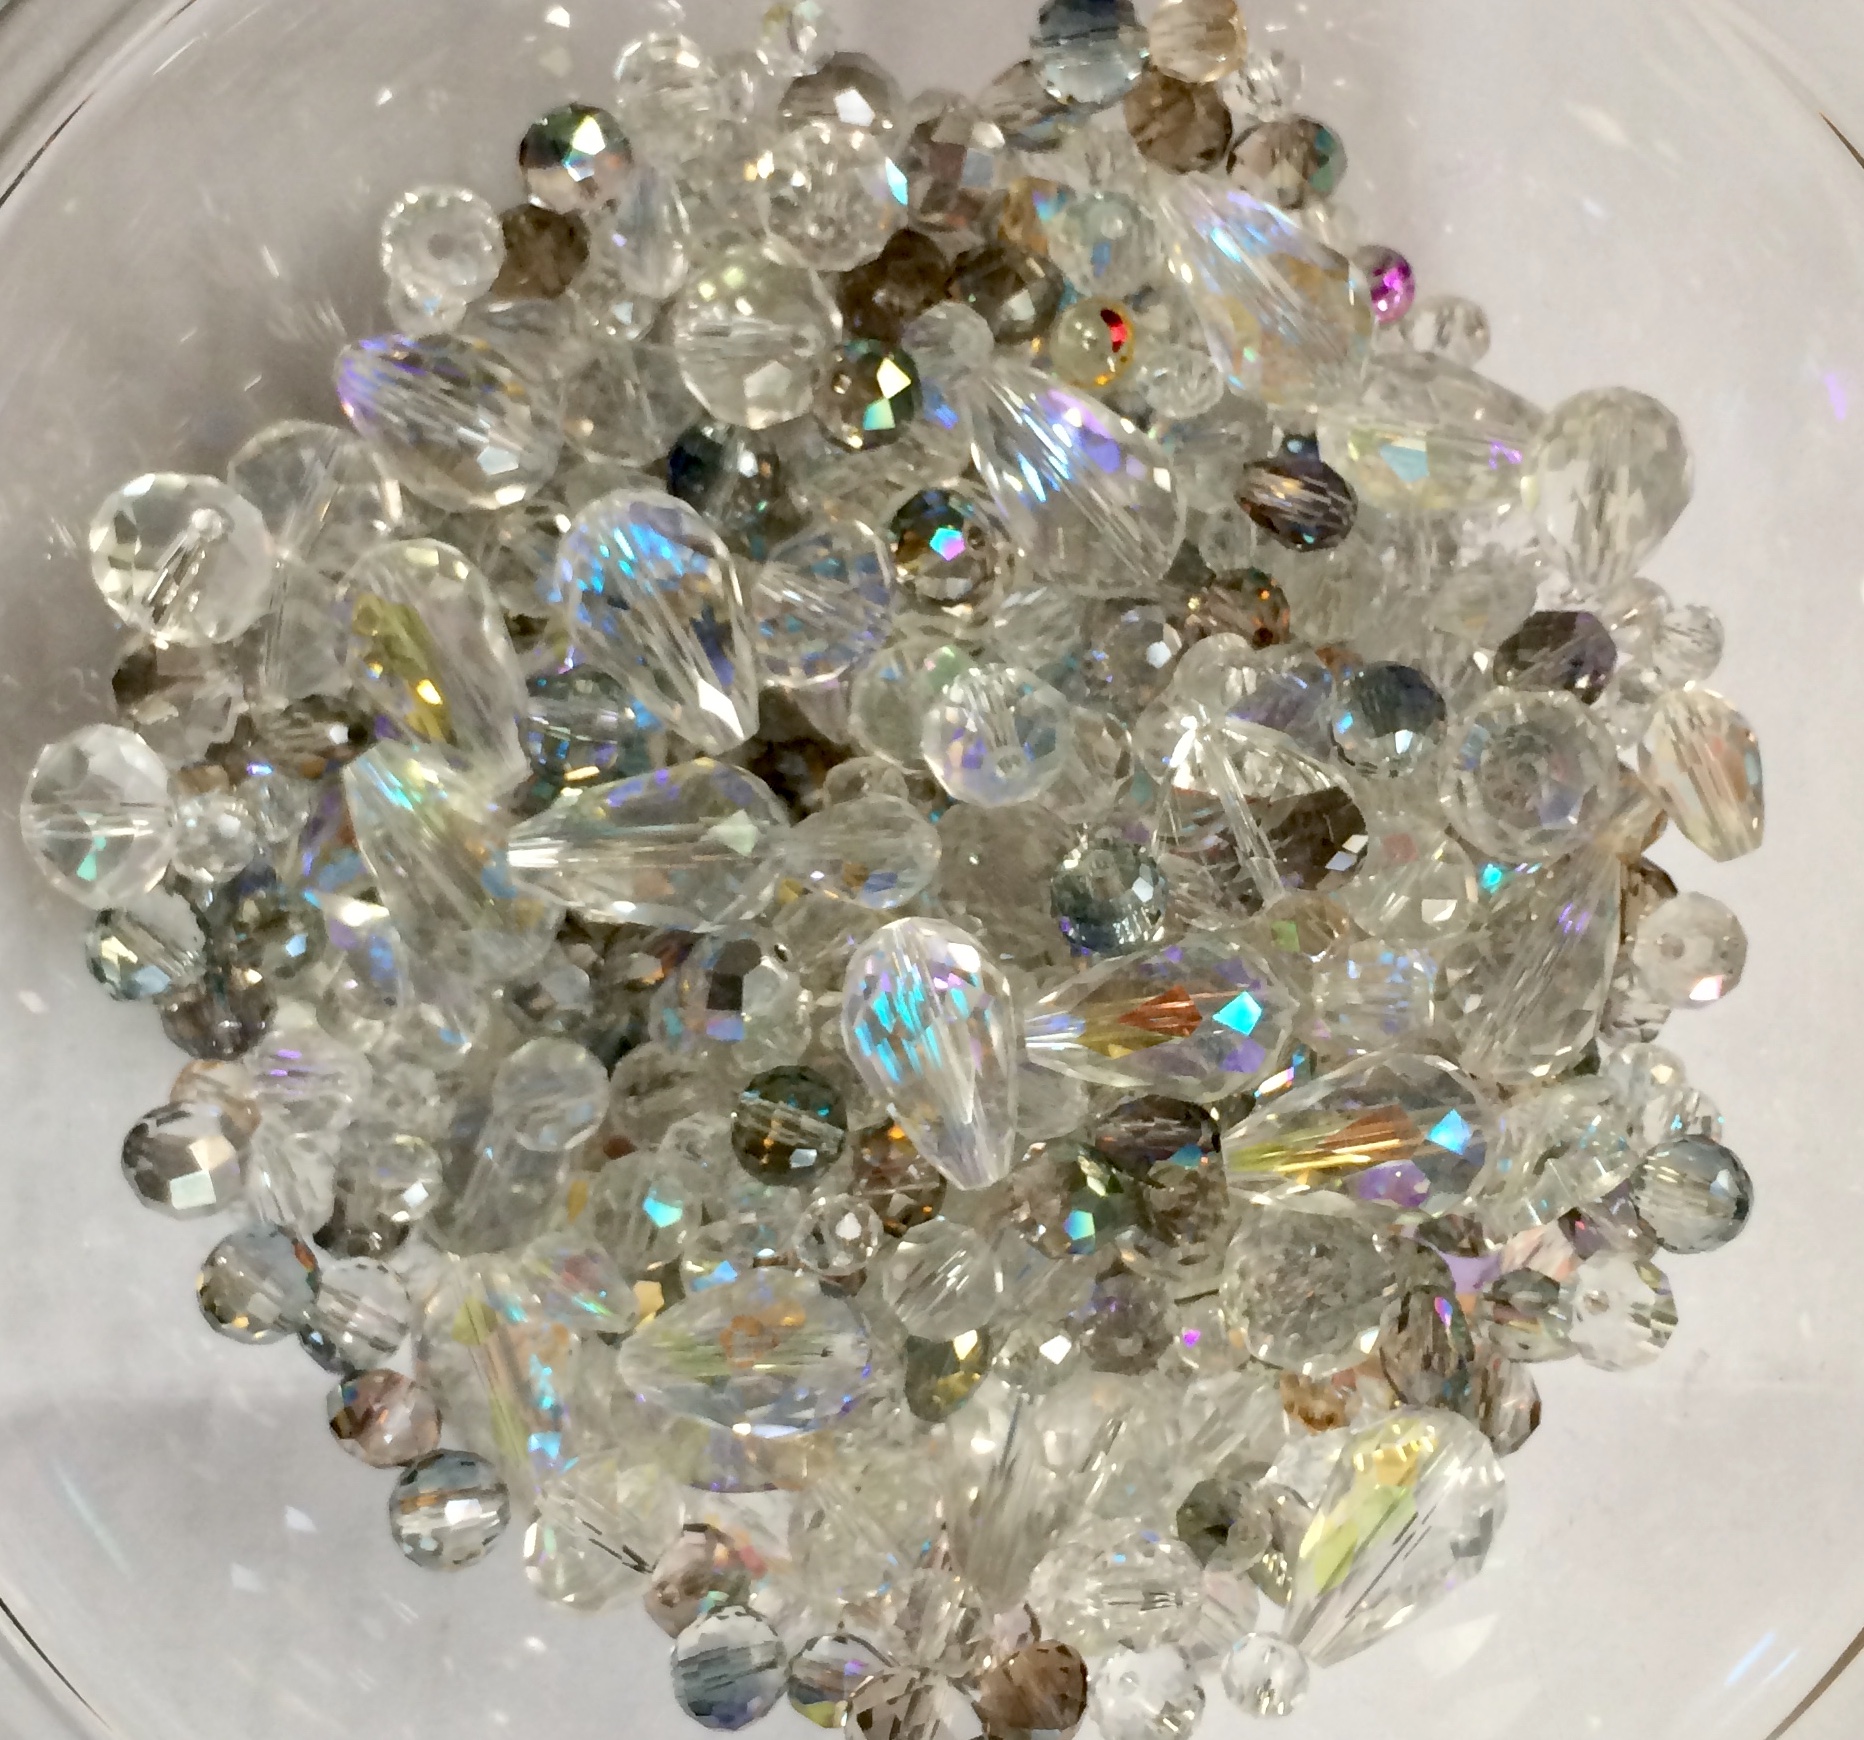
Next choose your bead combination.
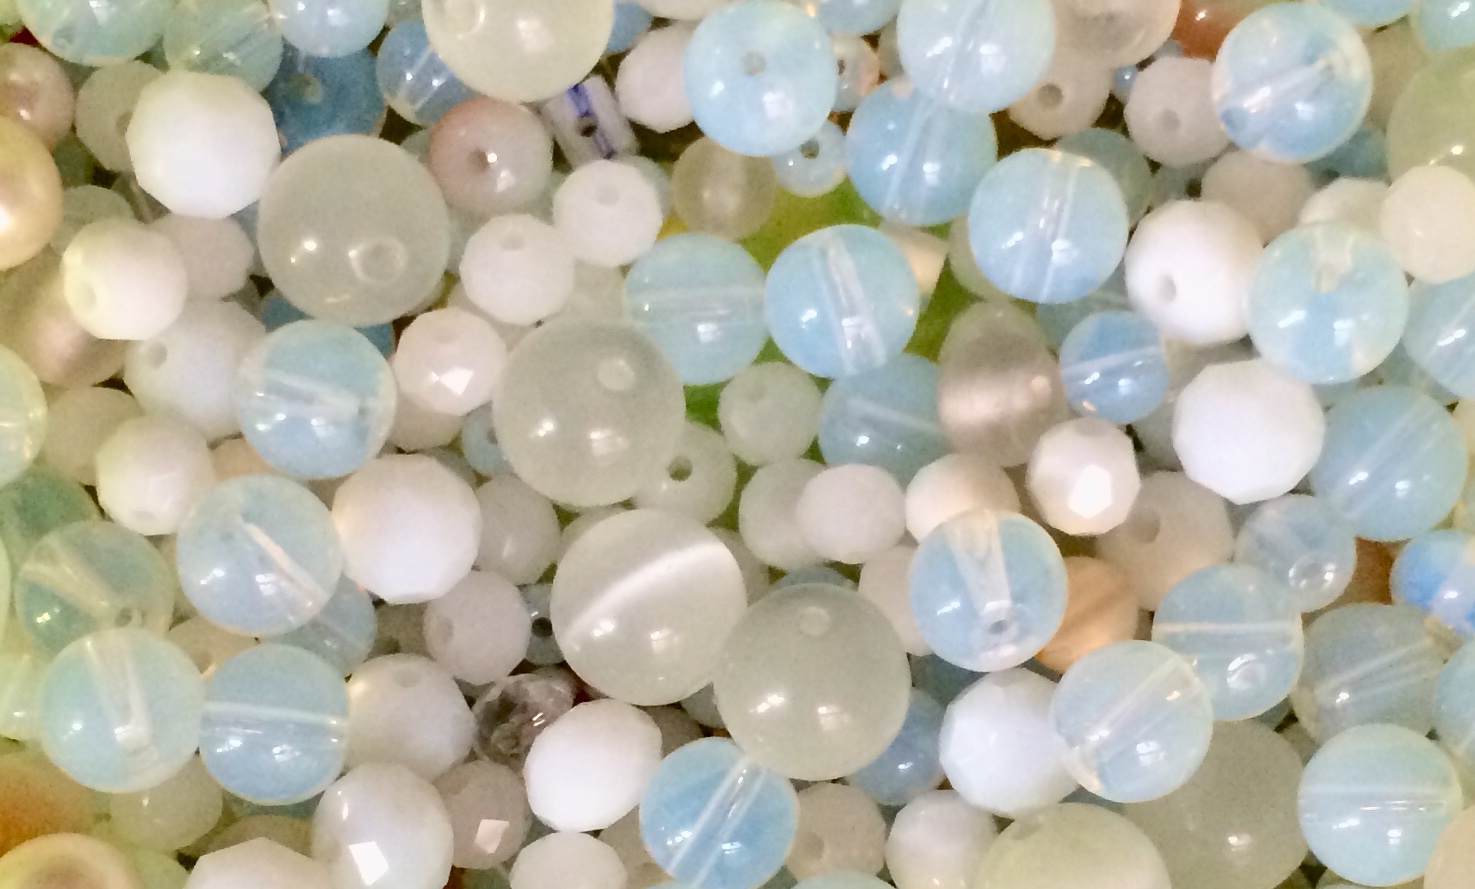
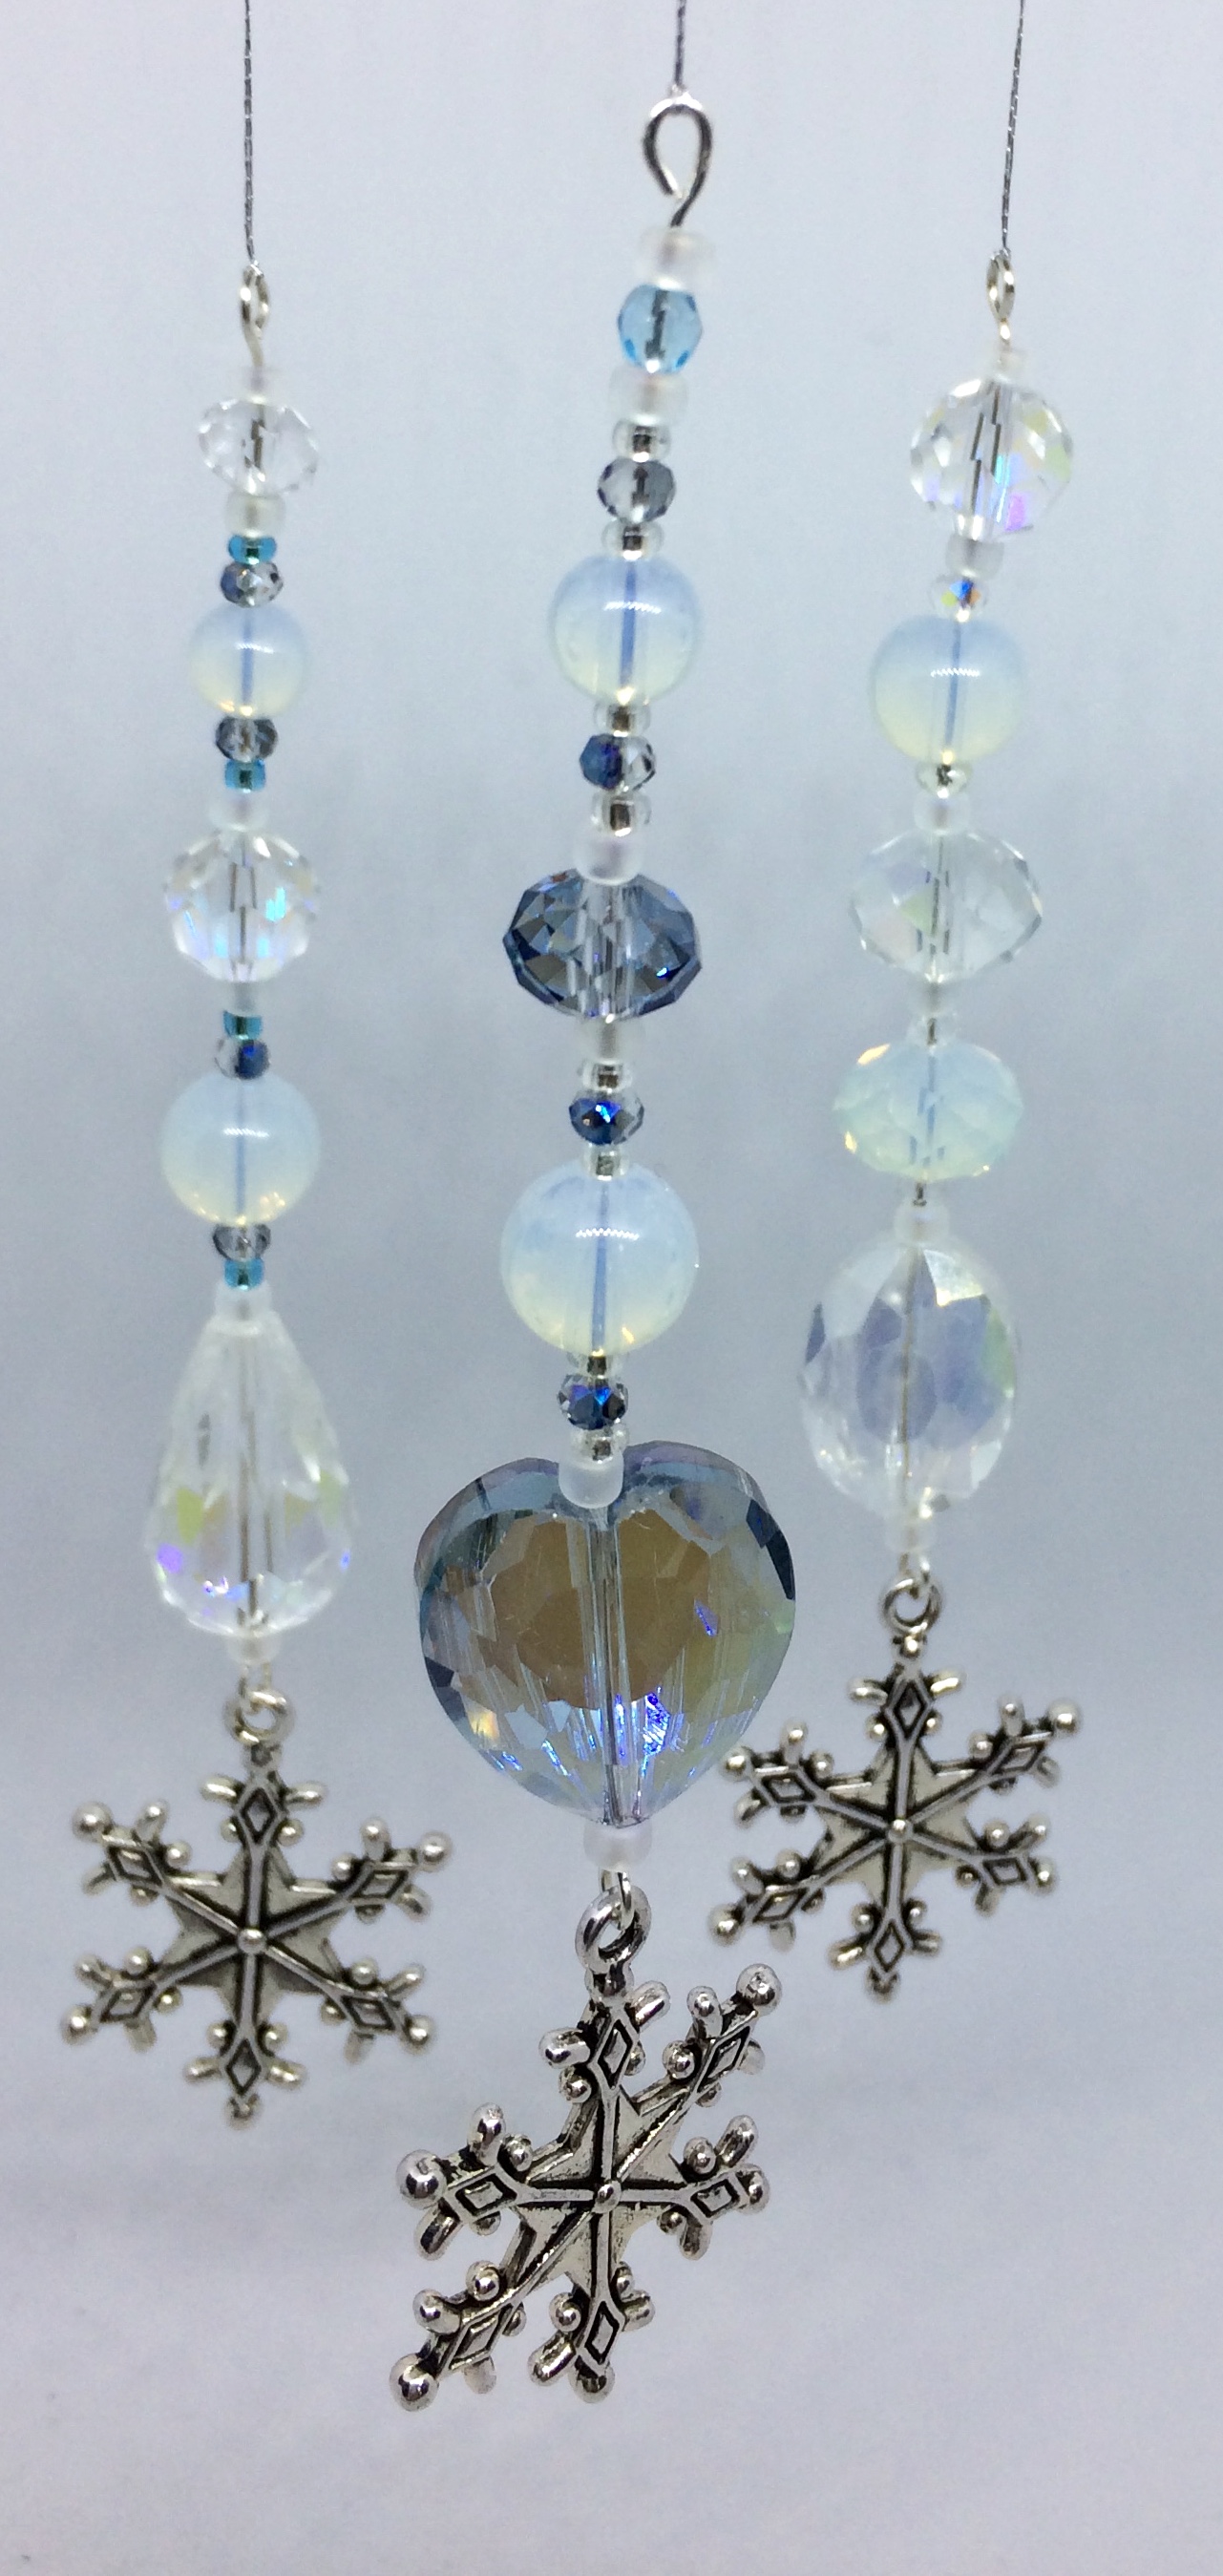
For the snowflake charms I like to choose a mixture of crystals and opals, for a twinkly snowy effect.
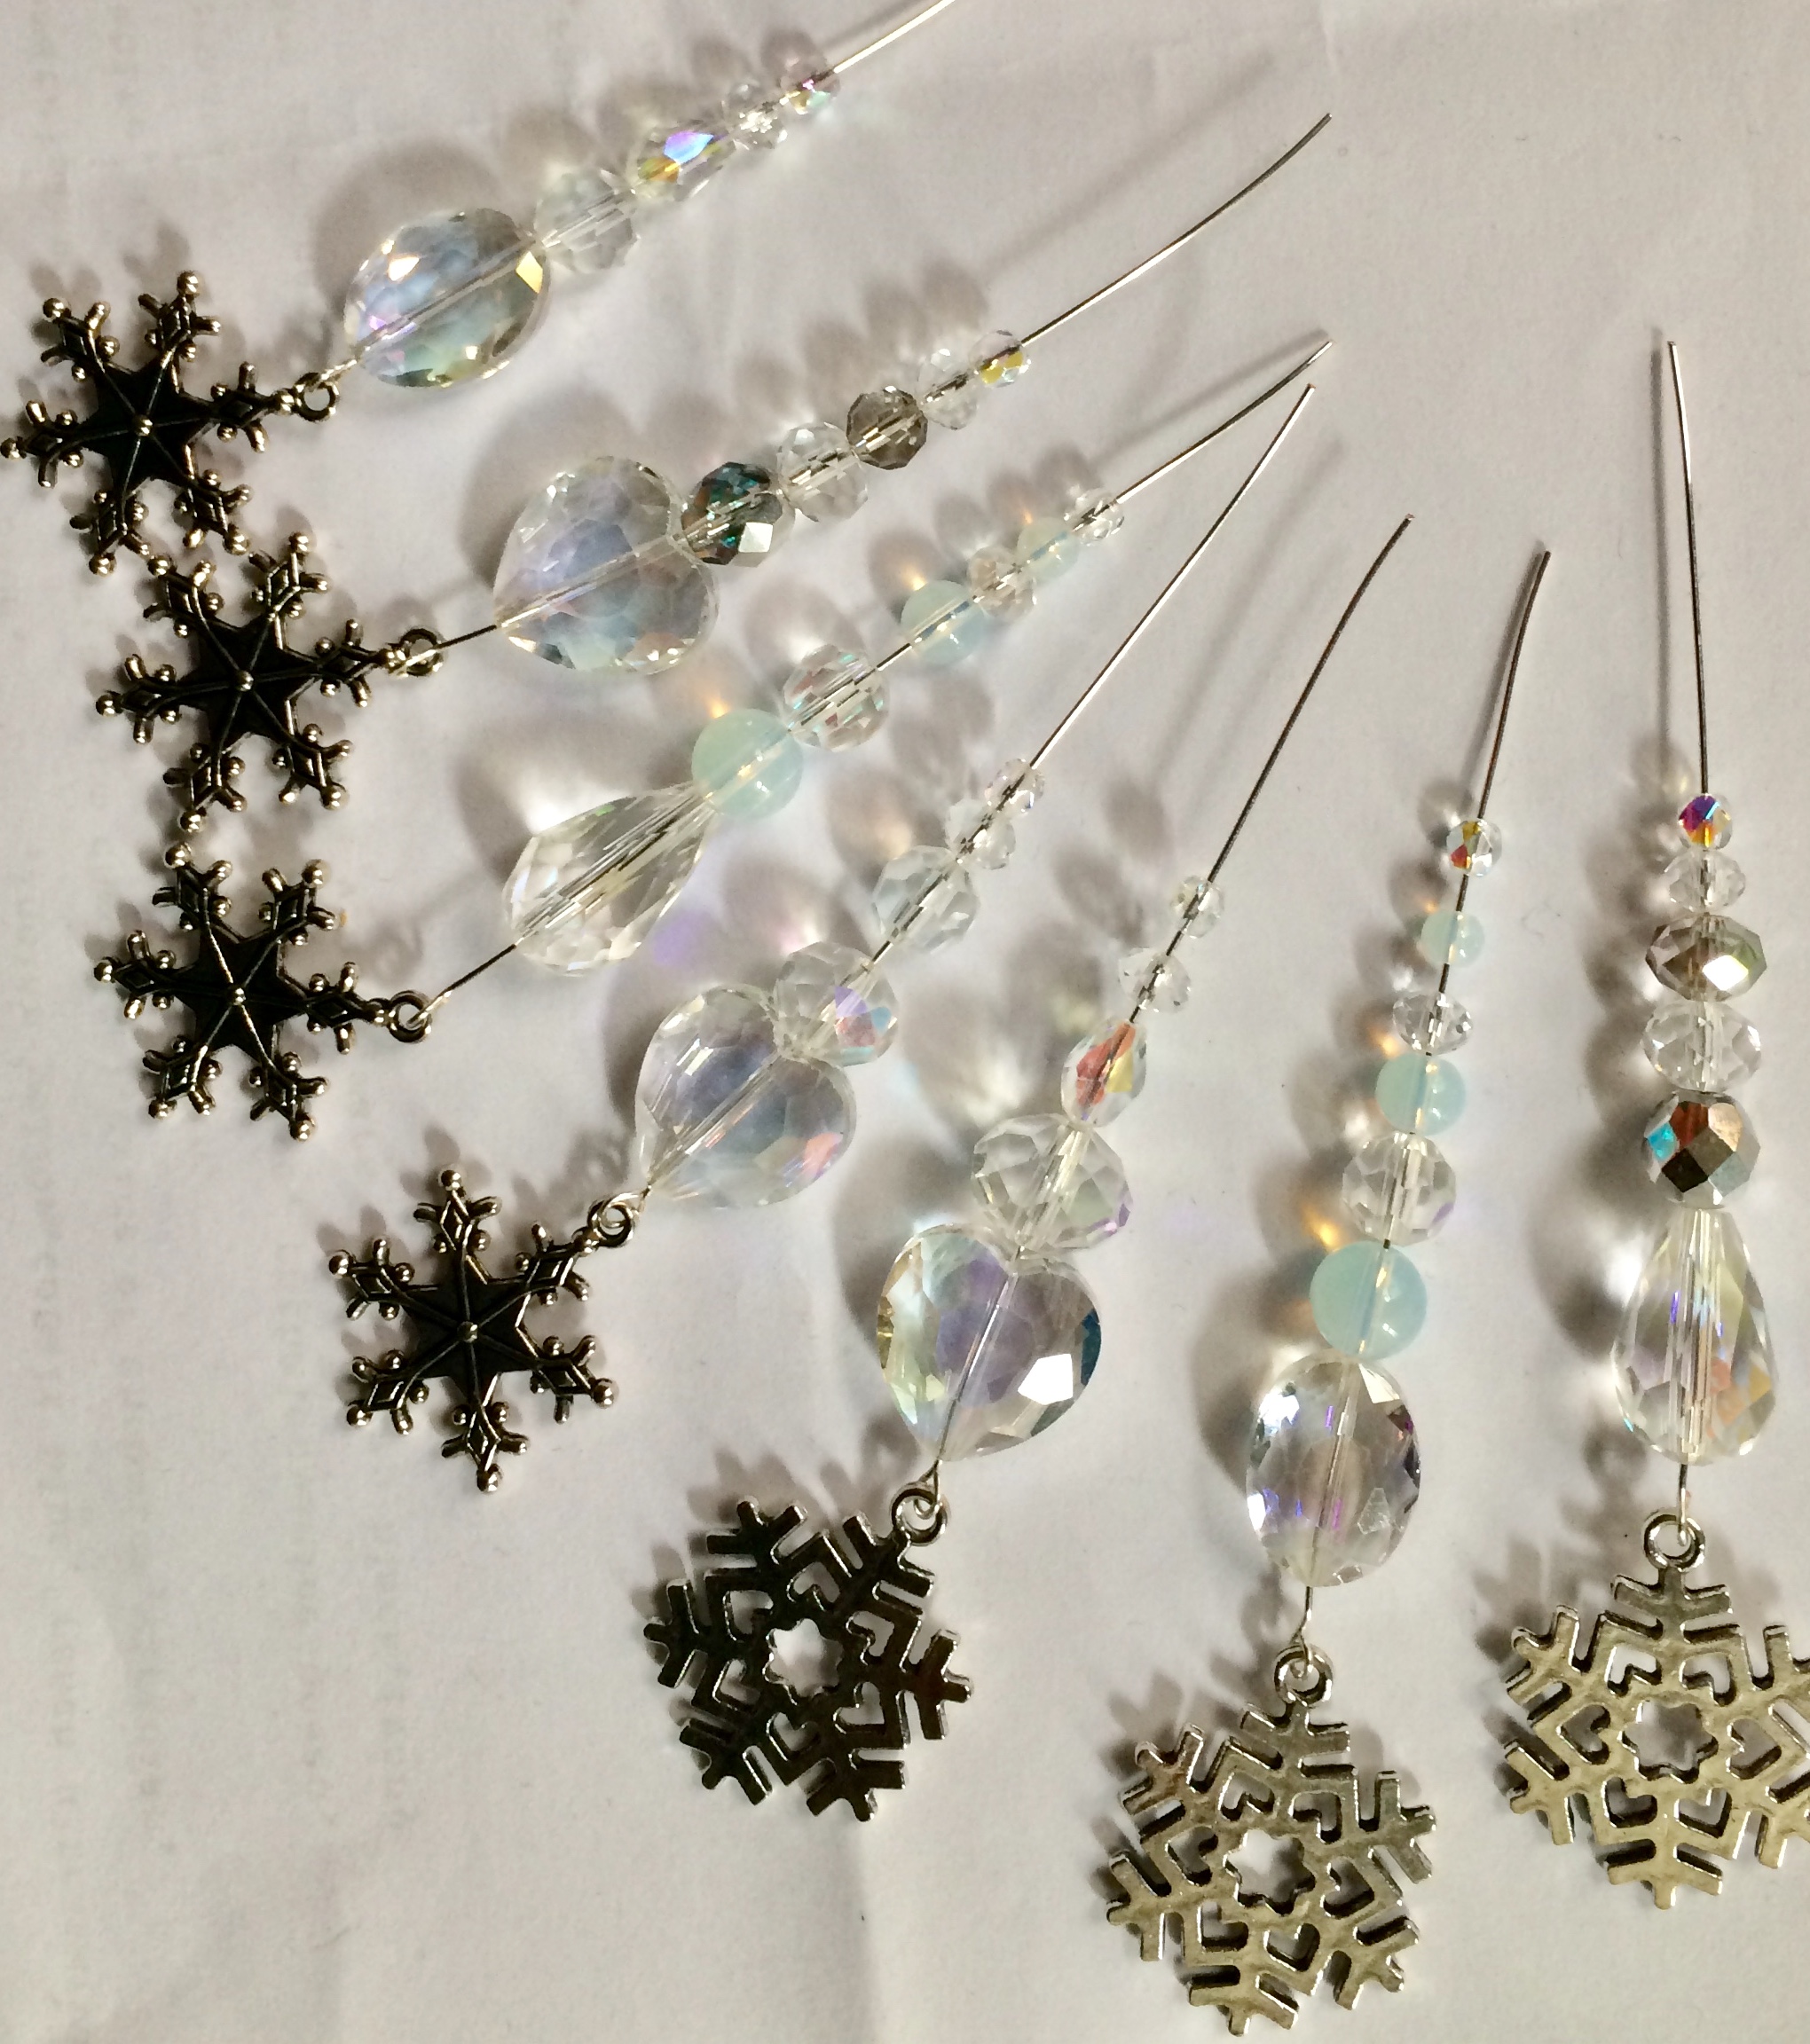
Try out a few different combinations. Don't fill up your wire with too many beads at this stage, as you need to leave room for the seed beads.
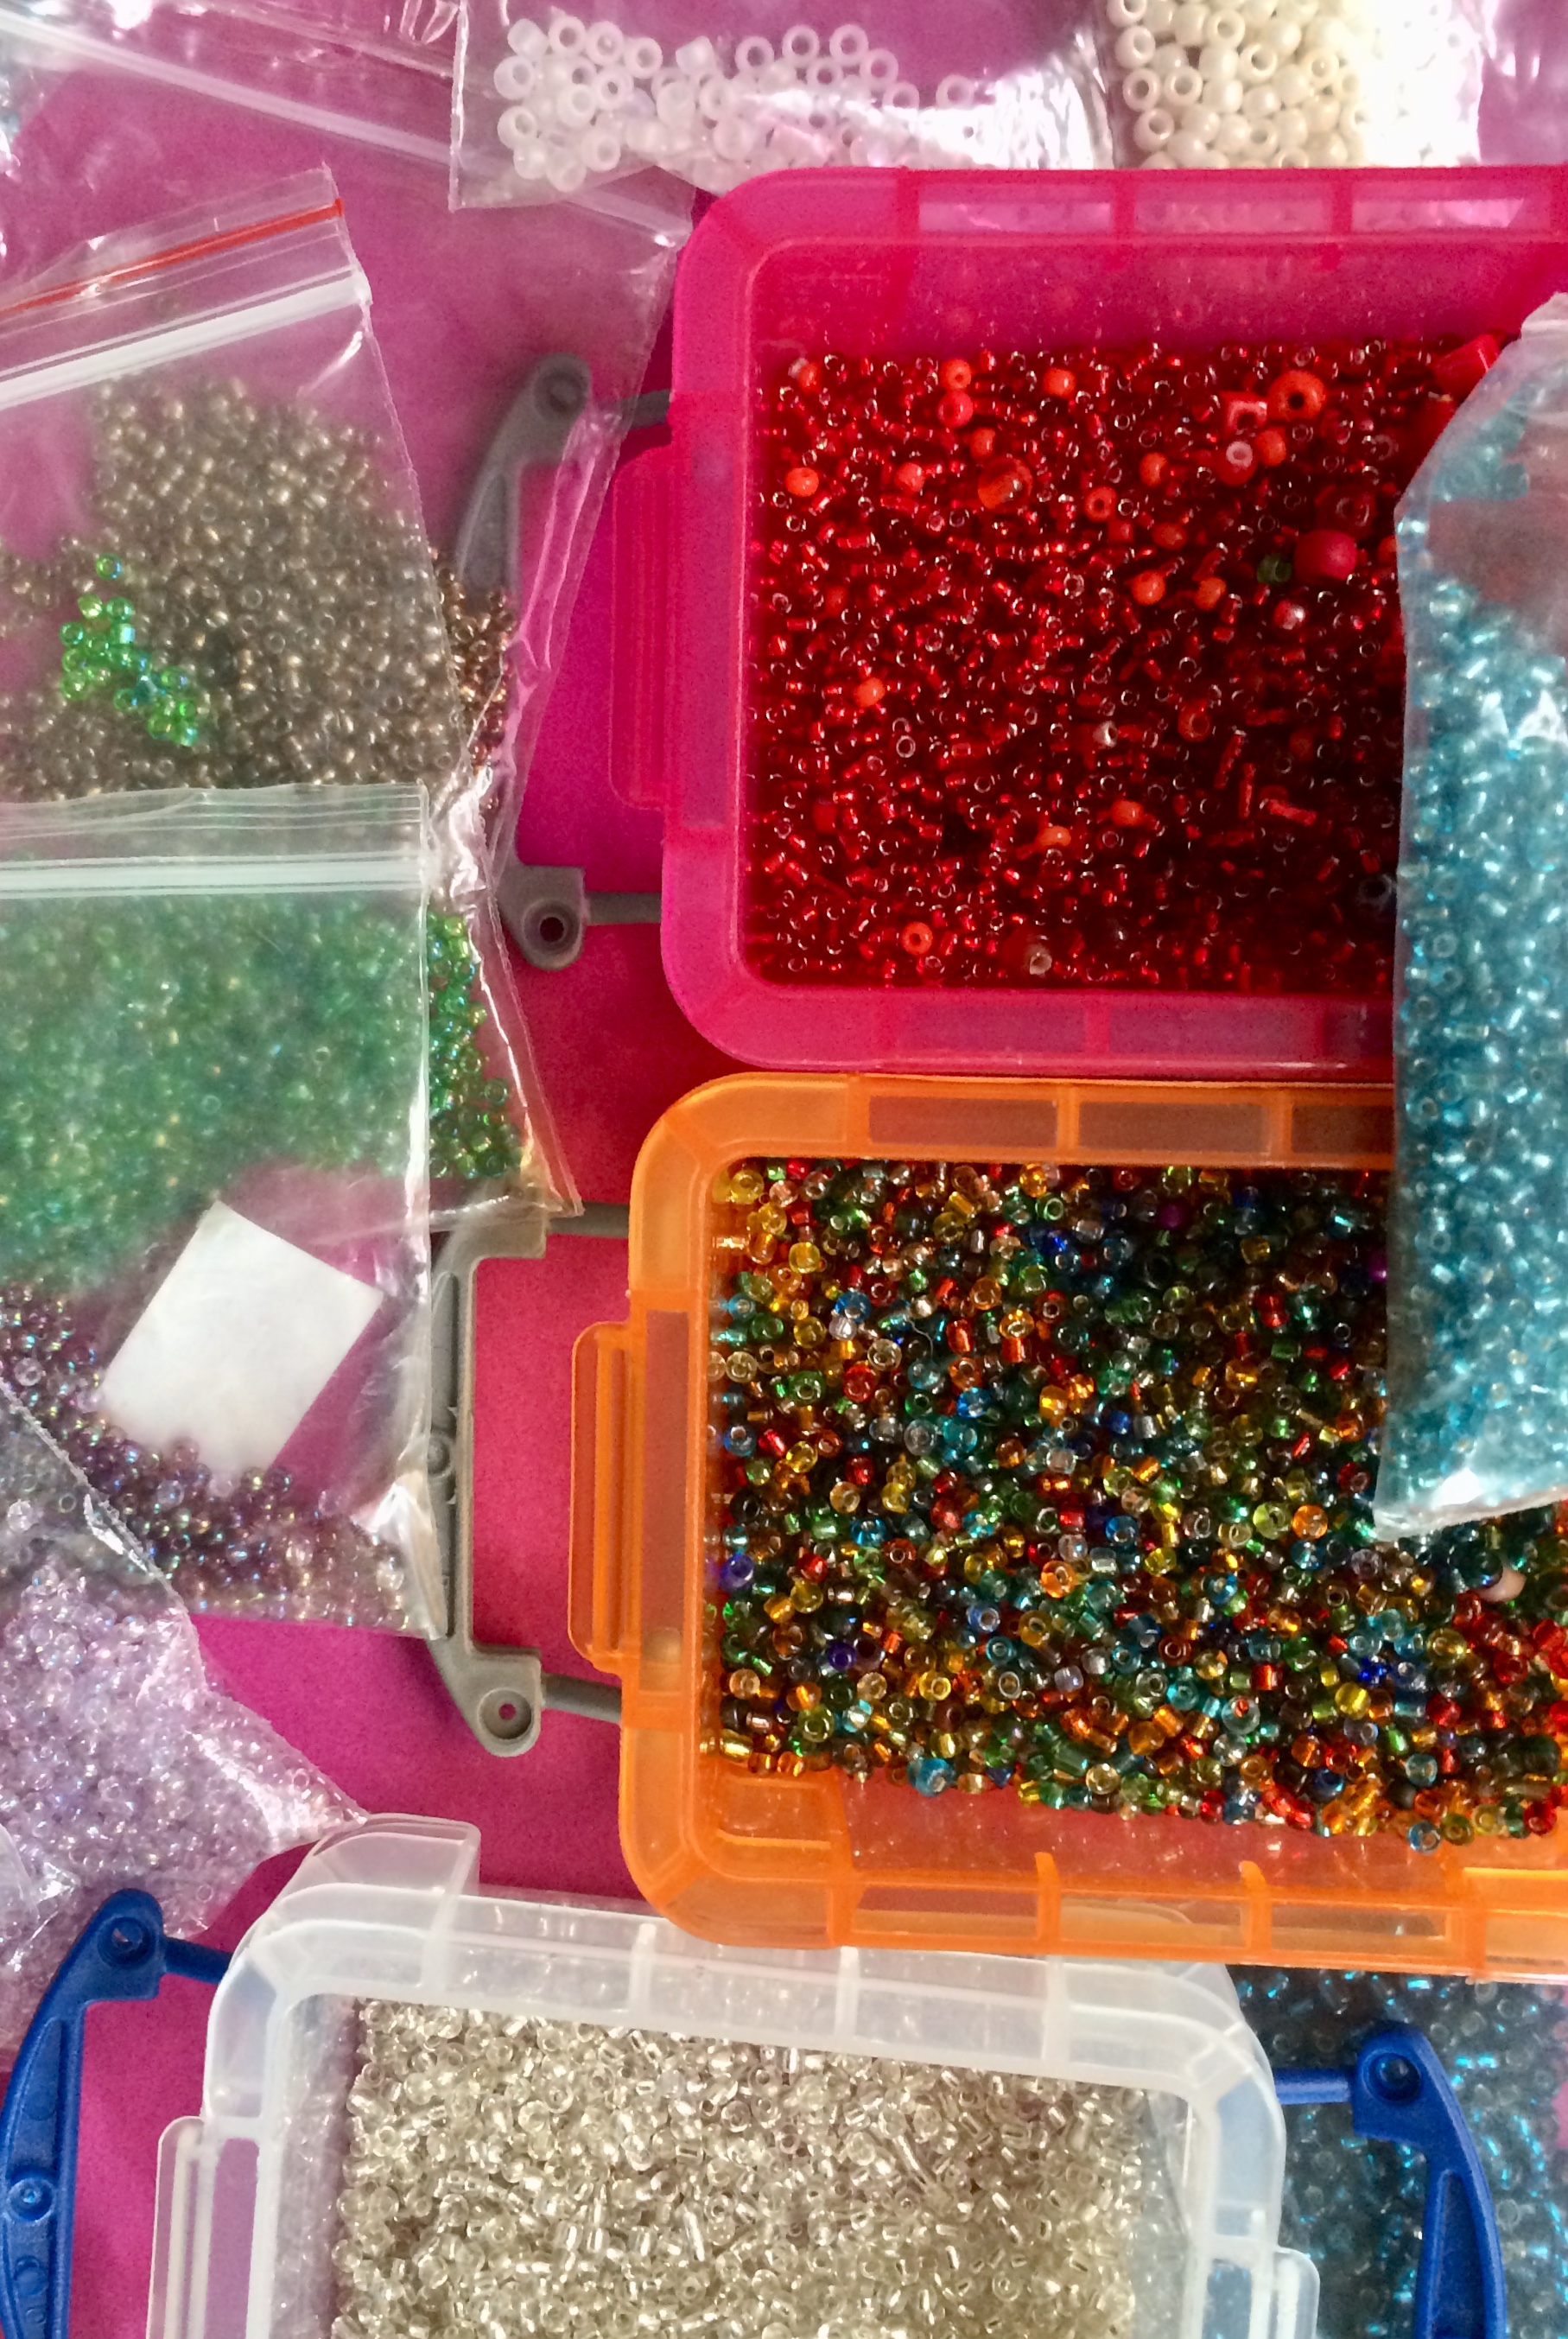
These tiny seed beads give you the opportunity to really become creative; try out some different patterns and choose beads that help to draw attention to the bigger beads that you've already chosen.
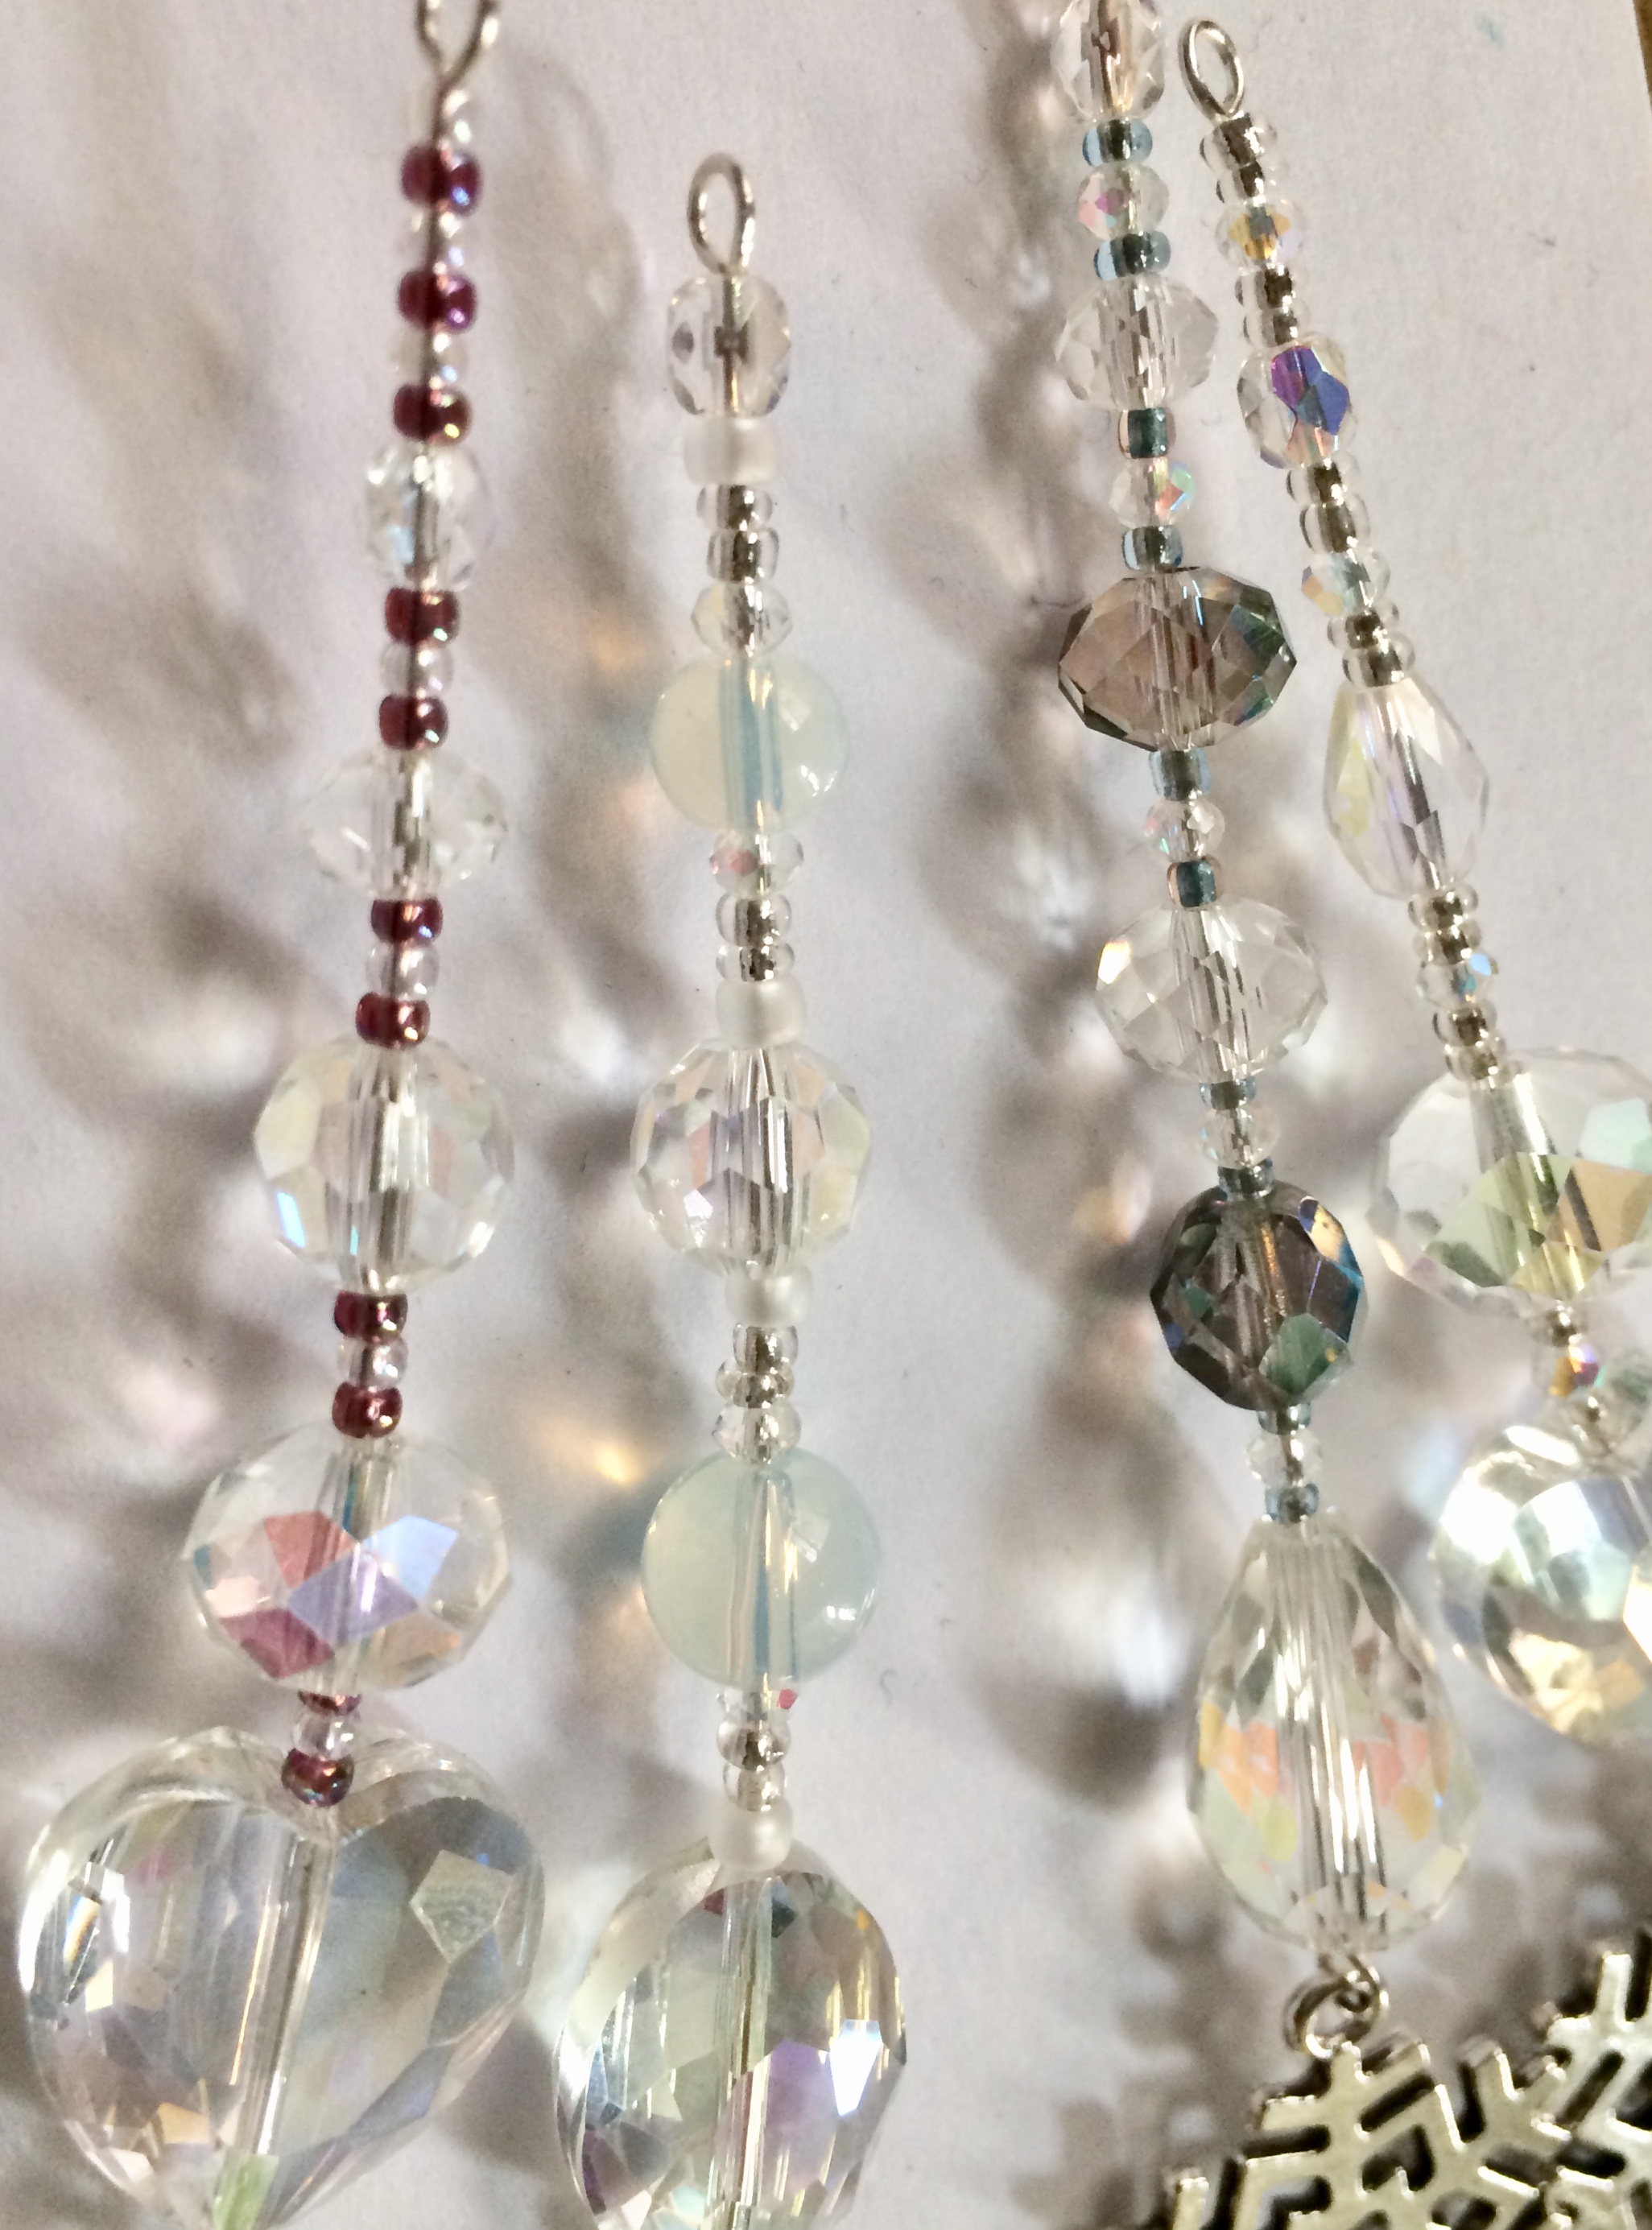
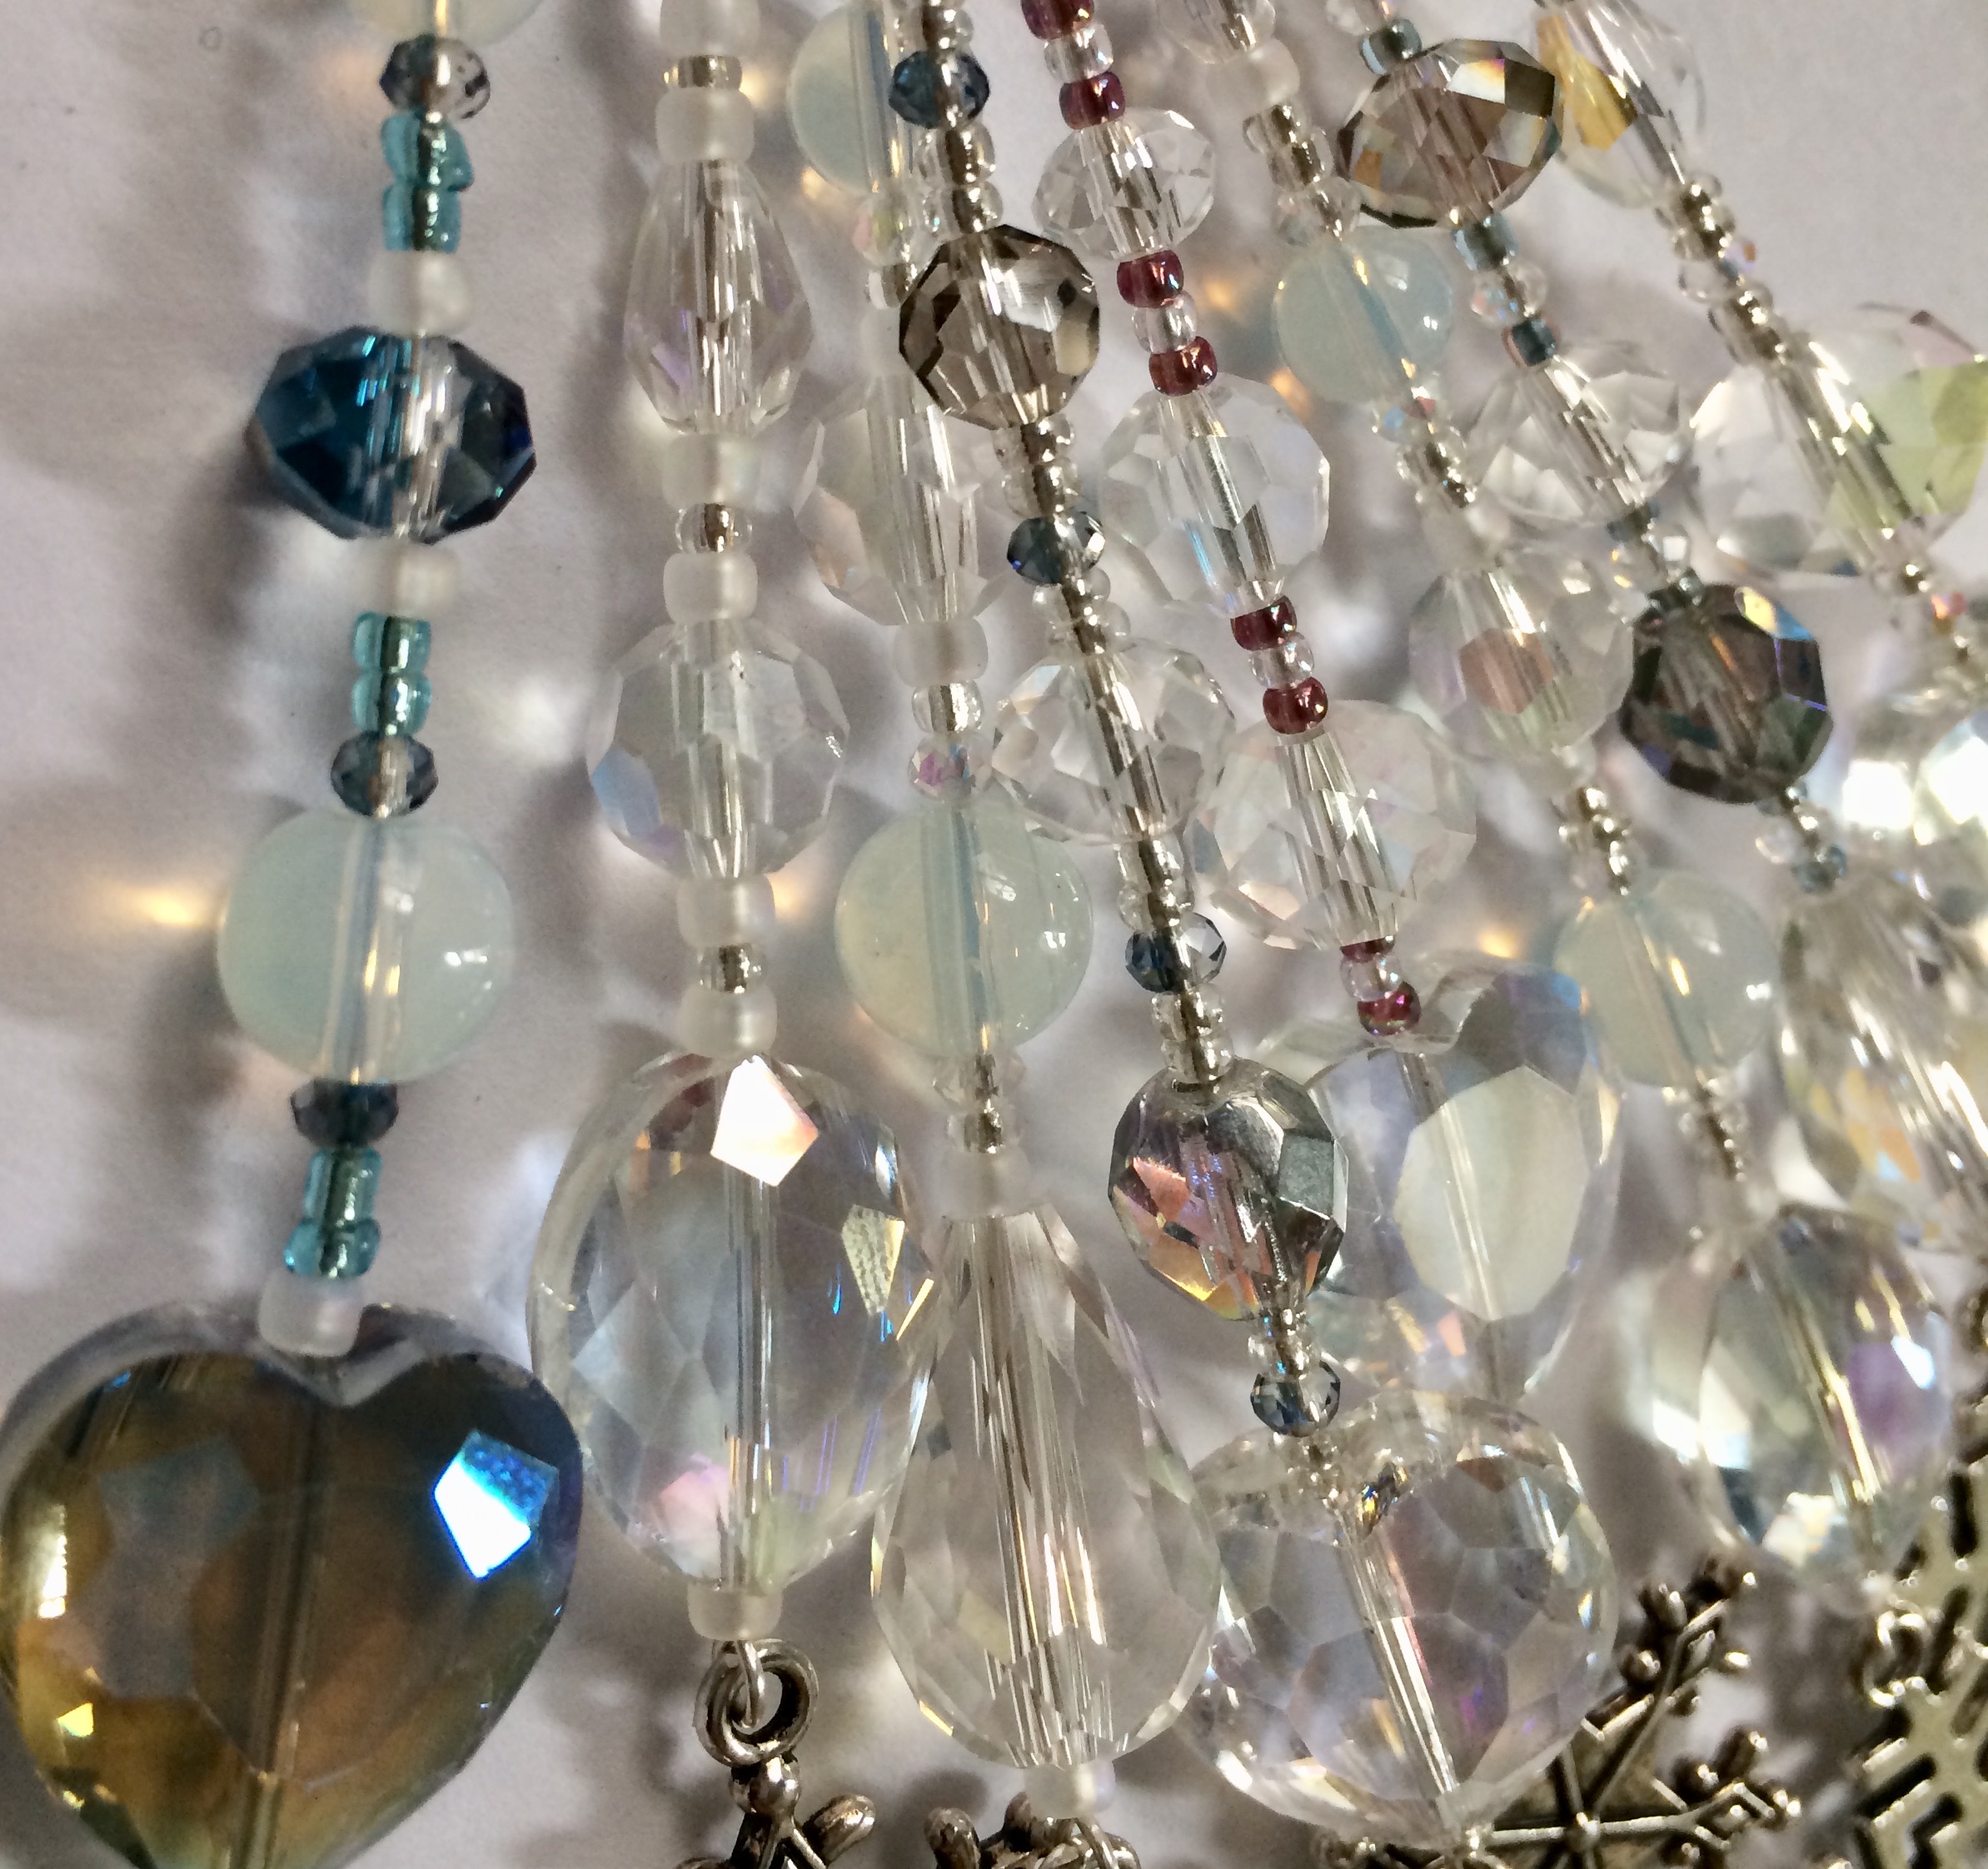
The seed beads can really transform your decorations into miniature works of art!
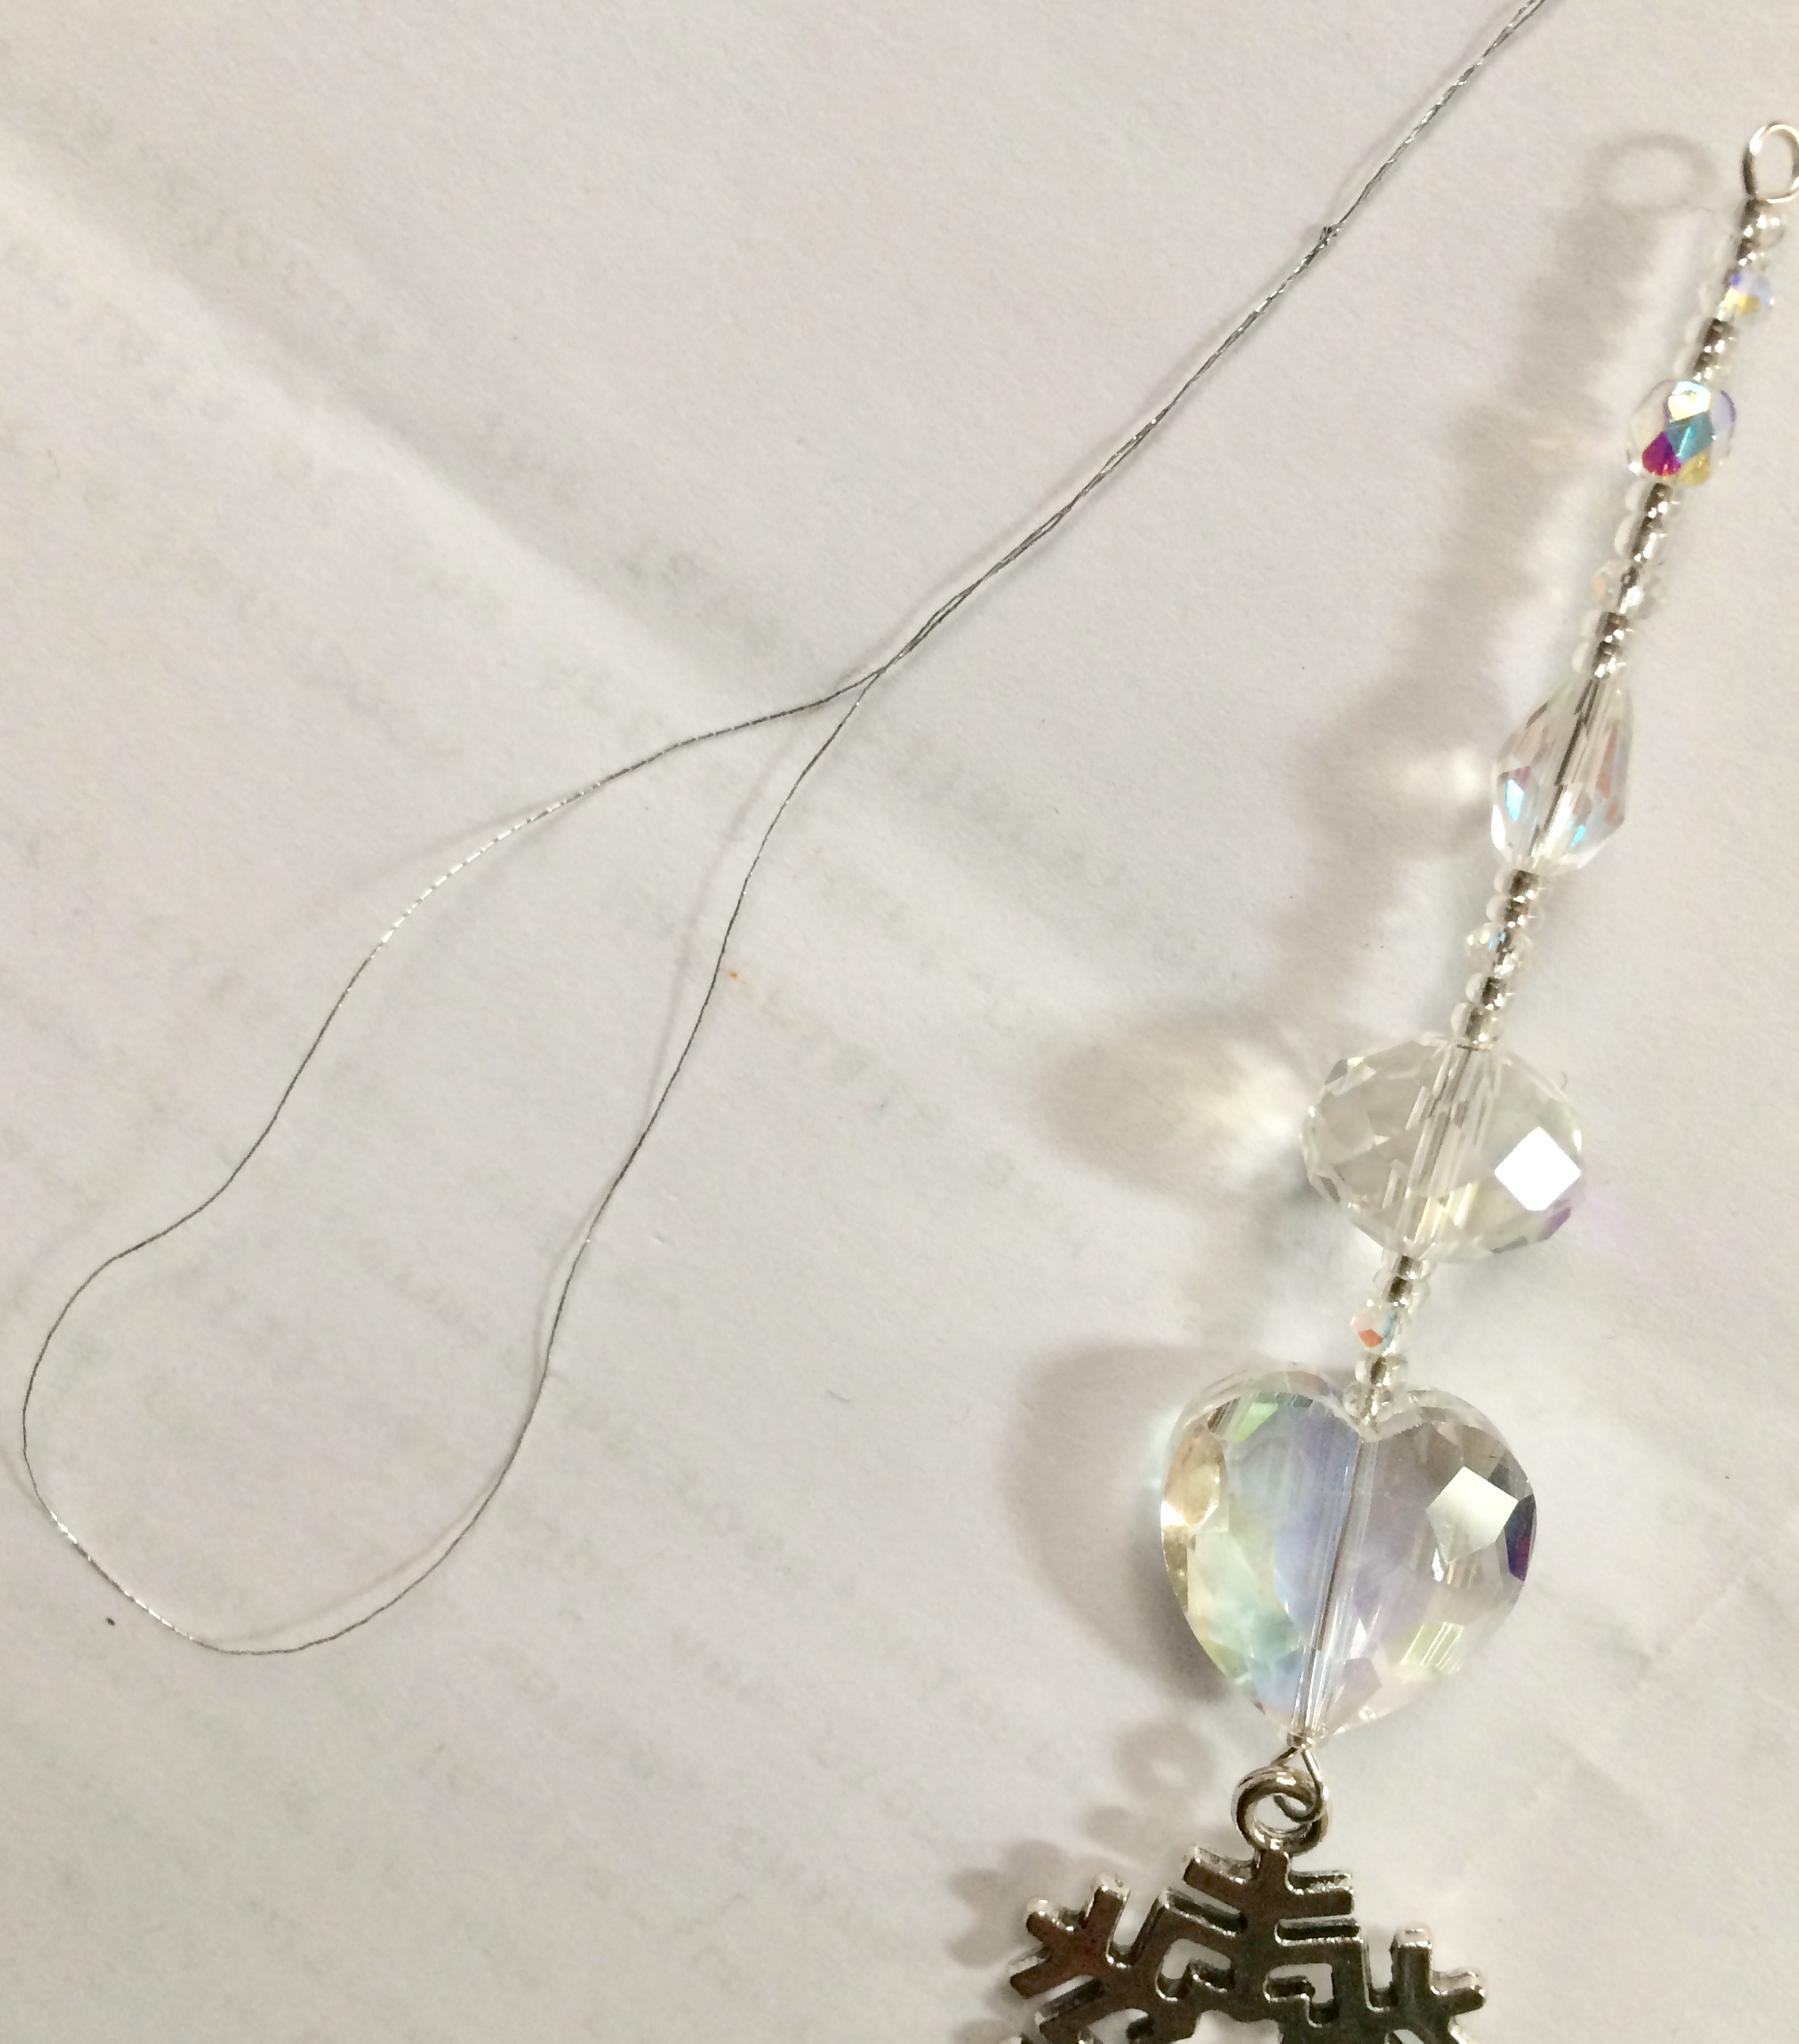
Make another hoop at the top of your decoration (trim if necessary). Cut a length of silver thread and knot it together. Thread the knotted end through the hoop in your wire, then push the end through the loop in your thread - pull to secure.
I'm happy to answer any questions if you need help. Follow me on Facebook
Vikki Yeates illustration
Thank you for reading my blog - wishing you all a Merry Christmas and a Happy 2019!
You will need . . .

A snowflake charm, silver wire, large crystal, beads (various sizes), silver thread and jewellery making tools (round nosed pliers, long nosed pliers, wire cutting tool).

Cut your wire to desired length (this one is about 3 inches), bend the end about 1 cm then curl round with the round nosed pliers. If you haven't done this before I would recommend a few practice runs as it's a bit tricky at first.

Open your new hoop and attach the charm. Try not to leave a gap.

Decide on an attractive colour combination and choose a large crystal for the bottom of your decoration.

For iridescent beads get AB (aurora borealis) coating for a particularly shimmery effect.

Next choose your bead combination.

For the snowflake charms I like to choose a mixture of crystals and opals, for a twinkly snowy effect.

Try out a few different combinations. Don't fill up your wire with too many beads at this stage, as you need to leave room for the seed beads.

These tiny seed beads give you the opportunity to really become creative; try out some different patterns and choose beads that help to draw attention to the bigger beads that you've already chosen.


The seed beads can really transform your decorations into miniature works of art!

Make another hoop at the top of your decoration (trim if necessary). Cut a length of silver thread and knot it together. Thread the knotted end through the hoop in your wire, then push the end through the loop in your thread - pull to secure.

I'm happy to answer any questions if you need help. Follow me on Facebook
Vikki Yeates illustration
Thank you for reading my blog - wishing you all a Merry Christmas and a Happy 2019!
